
30 ideas
30 training ideas for home and dojo
A collection of 30 training ideas for strength, mobility, technique, bagwork, partner drills and weapons practice at home or in the dojo, with a short list of what you need and clear steps.
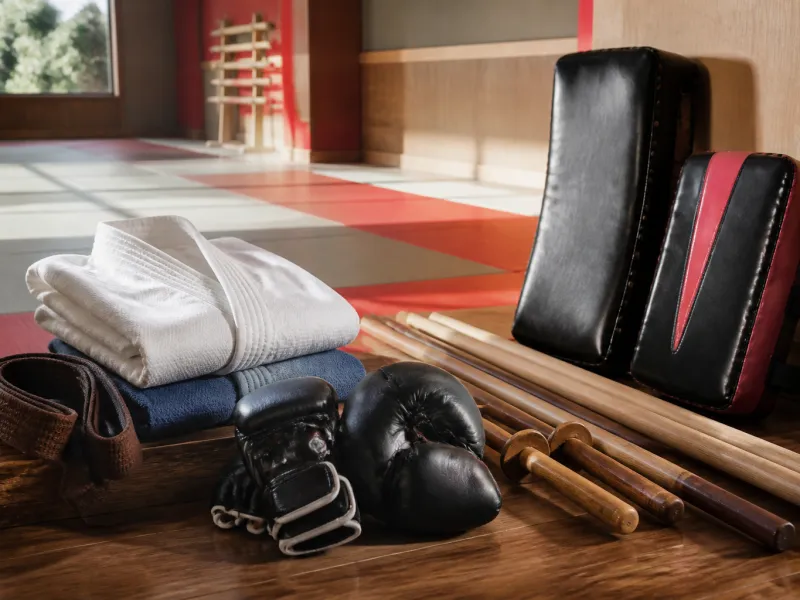
A home corner or a small dojo does not need much equipment to support real progress. The ideas below cover strength, mobility, technique, bagwork, partner drills and weapons practice, so you can pick what fits the space and time you have. If you are still setting up a training area, our guide to home dojo setup covers mats, spacing and basic safety first.
Each idea below lists what you need and the steps to run it, without ratings or invented benchmarks. Warm up before anything strenuous, keep your training area clear, and stop a drill if balance or control breaks down. Unfamiliar terms are explained as they appear, and the full glossary covers every term used across the site in more depth.
 01
Bodyweight strength circuit
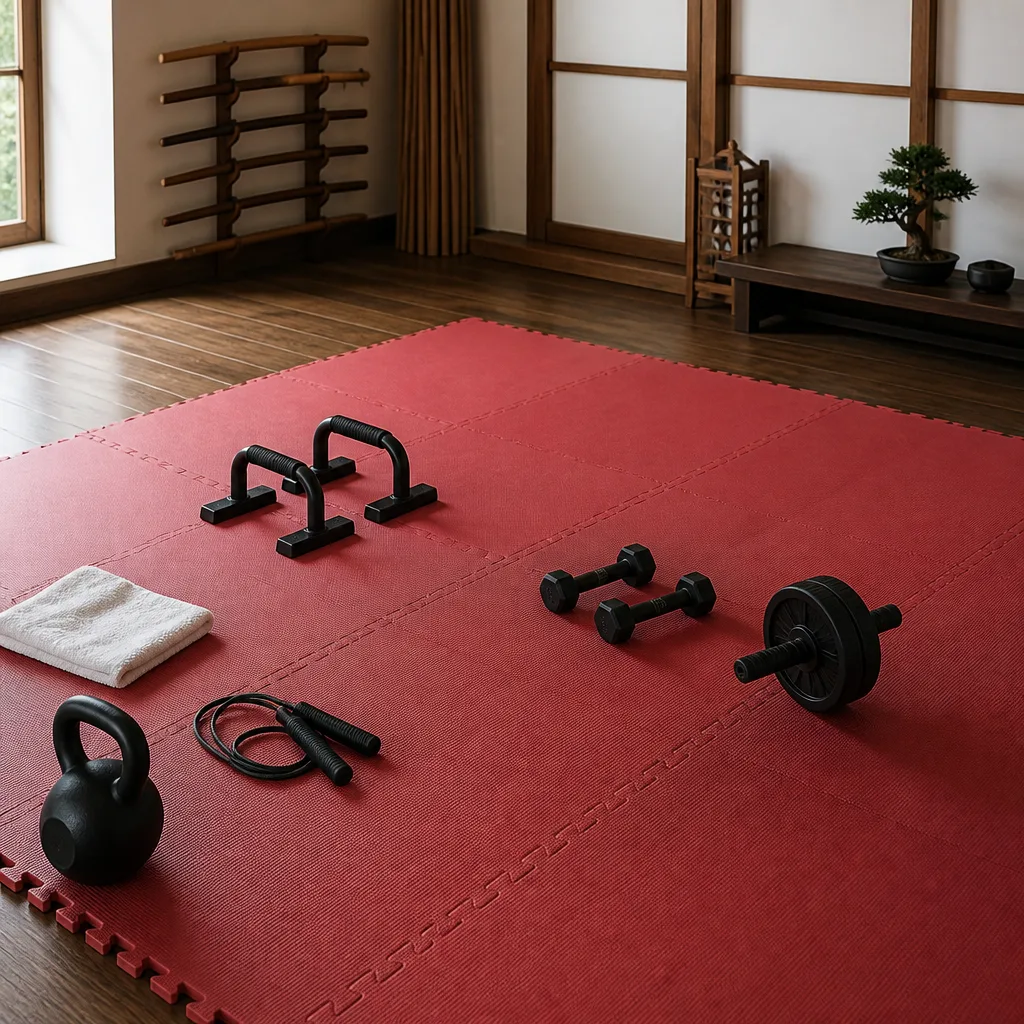
A short circuit of squats, push ups, lunges and core holds builds the general strength that supports technique, and it needs no equipment beyond floor space. Rotating through the exercises with short rests keeps the session brisk and easy to repeat several times a week. Track only how many rounds you complete, not any invented score.
You need: a mat, a timer, enough floor space to move
- Choose four to six bodyweight exercises covering legs, push, pull and core
- Set a work and rest interval on the timer
- Move through the exercises in order for two to four rounds
- Cool down with light stretching
- Note how many rounds you completed for next time
 Matching productBo staffAmazon →
 02
Weighted carry and grip session
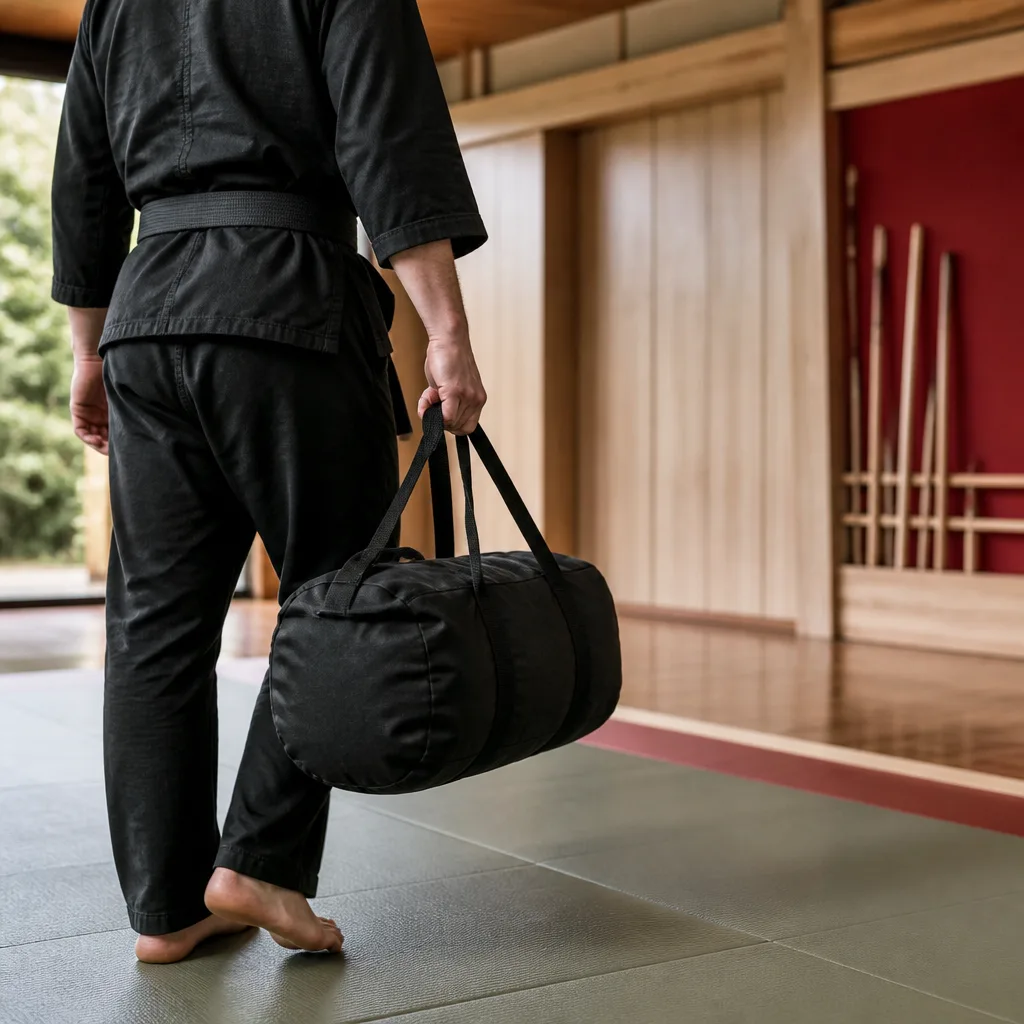
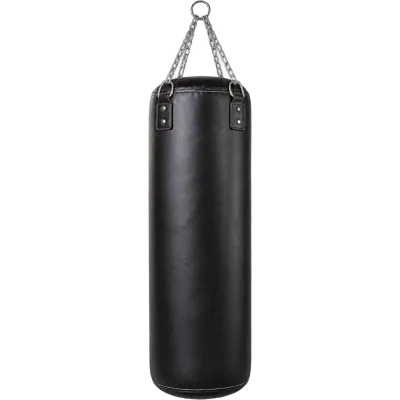
Carrying a loaded bag or sandbag over a set distance builds grip, core stability and the kind of practical strength used in grappling and clinch work. Alternating carry positions such as at the chest, on one shoulder or overhead spreads the load across different muscles. Keep the distance short at first and increase it only once your grip and posture stay solid.
You need: a sandbag or duffel bag you can load, an open space or yard, a stopwatch
- Load the bag to a manageable weight
- Mark a short, flat carry distance
- Carry the bag using one position there and a different position back
- Rest fully between carries
- Repeat for three to five trips, stopping if grip or posture fails
 Matching productHeavy bagAmazon →
 03
Isometric stance holds
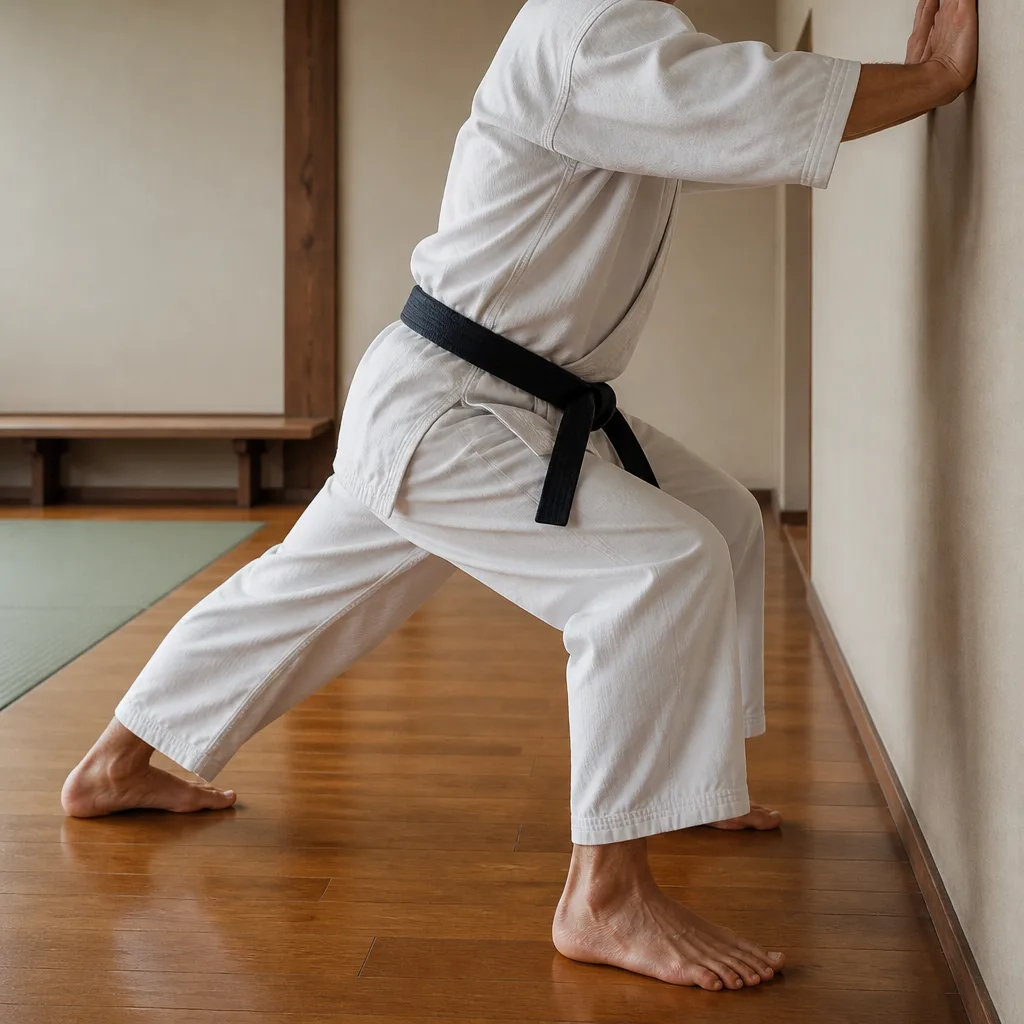
Holding a low stance, such as a horse stance or a front stance, against a wall for time builds the leg endurance that many styles rely on for stability. Because the exercise is static, it is easy to fit into a short break without changing clothes or setting up equipment. Build up hold time gradually rather than jumping straight to a long duration.
You need: a wall or open space, a timer
- Set your stance against a wall for support if needed
- Start the timer and hold the position with good posture
- Breathe steadily throughout the hold
- Rest for at least as long as the hold
- Repeat for three to five sets, increasing time only when form stays clean
 Matching productKarate giAmazon →
 04
Explosive throws with a light medicine ball
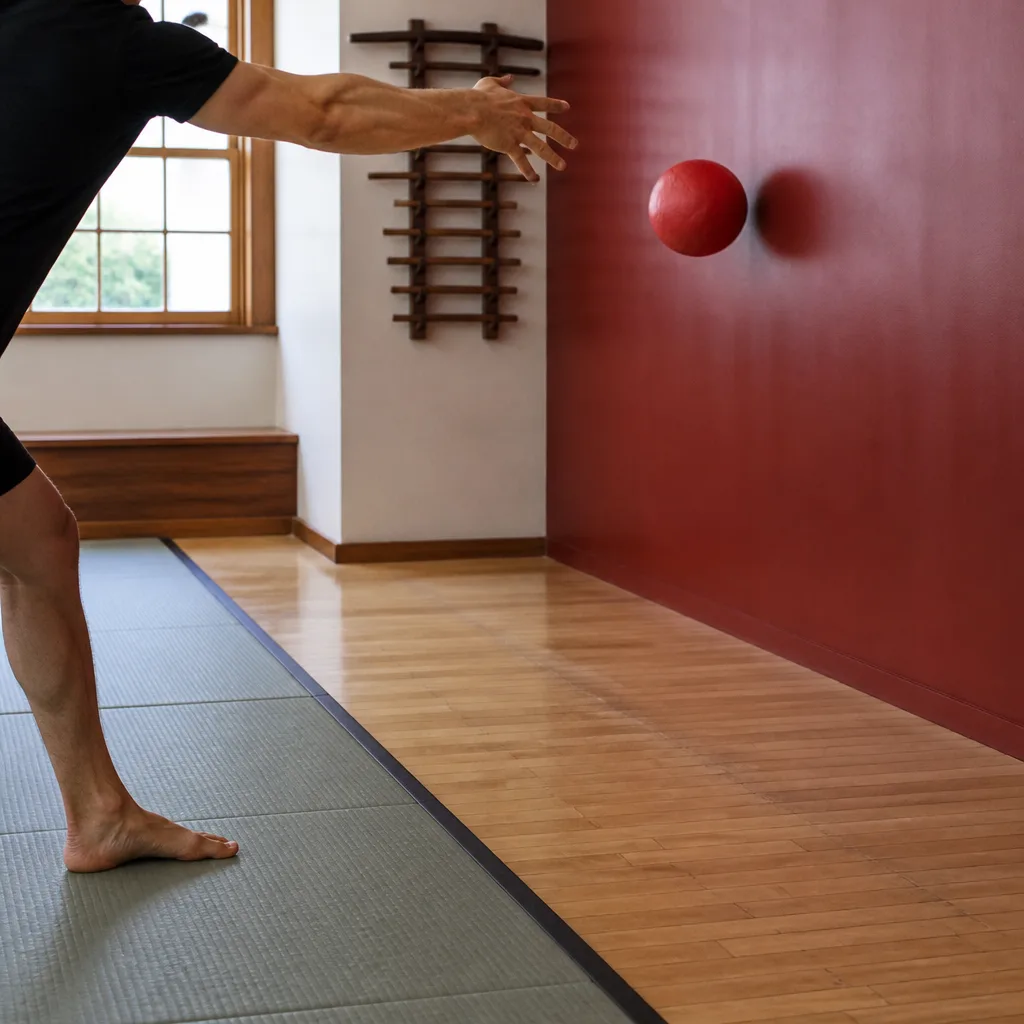
Throwing a light medicine ball against a solid wall trains the fast, rotational power used in strikes and takedowns, in a way that slow strength work does not. Resetting your stance between throws keeps the drill connected to real technique rather than just conditioning. Choose a wall with no fixtures nearby and confirm the ball will not bounce back unpredictably.
You need: a light medicine ball, a solid wall with clear space, enough room to reset your stance
- Check the wall and floor area are clear of obstacles
- Set your stance facing the wall at a safe distance
- Throw the ball with a rotational motion, catching or collecting the rebound
- Reset your stance fully before each throw
- Do six to ten throws per side for two or three sets
Matching productBo staffAmazon →
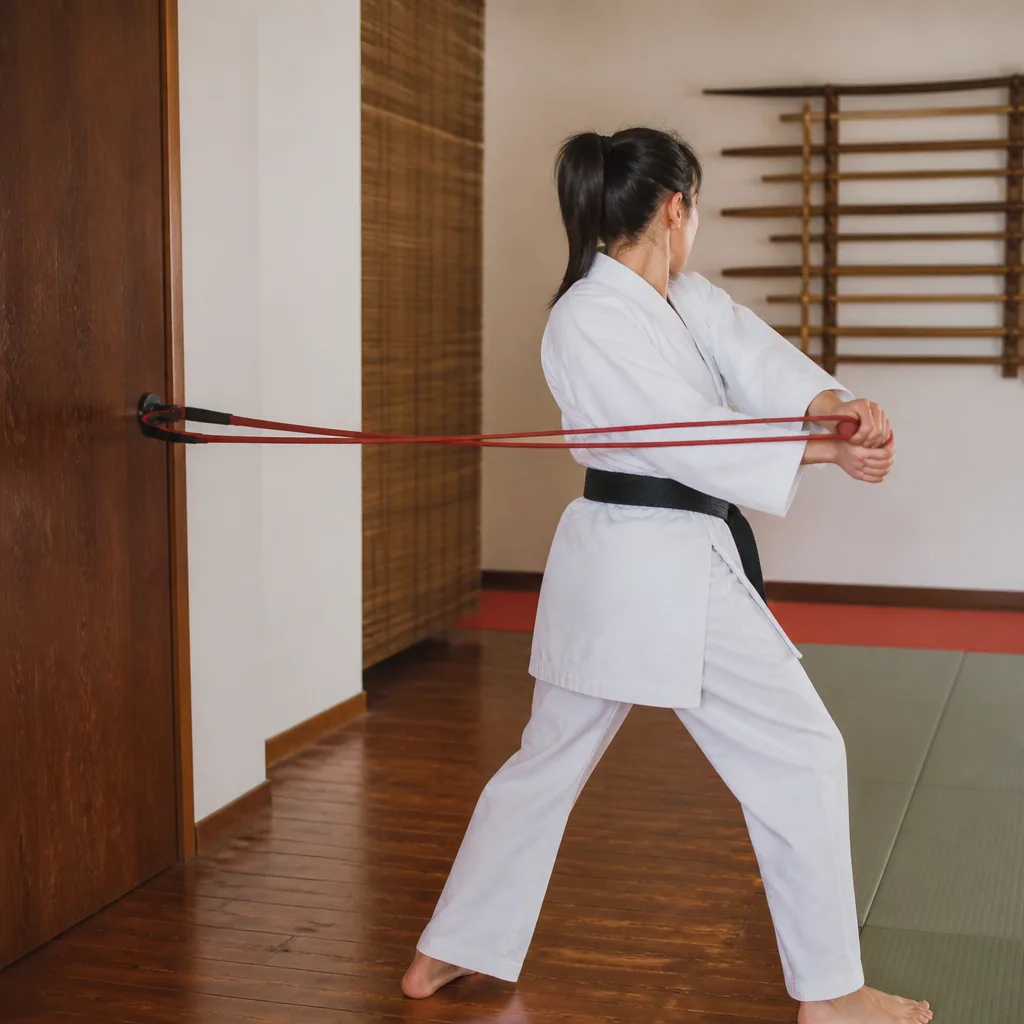 05
Resistance band strength for shoulders and hips
Bands are light to store and travel with, and they let you train shoulder rotation and hip strength through ranges that free weights rarely reach comfortably. Slow, controlled repetitions matter more than speed with bands, since the resistance depends on how far you stretch them. A door anchor turns almost any doorway into a small strength station.
You need: a resistance band, a door anchor or sturdy fixed point
- Attach the band securely to the anchor point
- Choose an exercise such as a rotational pull or a lateral hip walk
- Perform slow, controlled repetitions through a full range of motion
- Switch sides evenly
- Do two to three sets of ten to fifteen repetitions per side
Matching productKarate giAmazon →
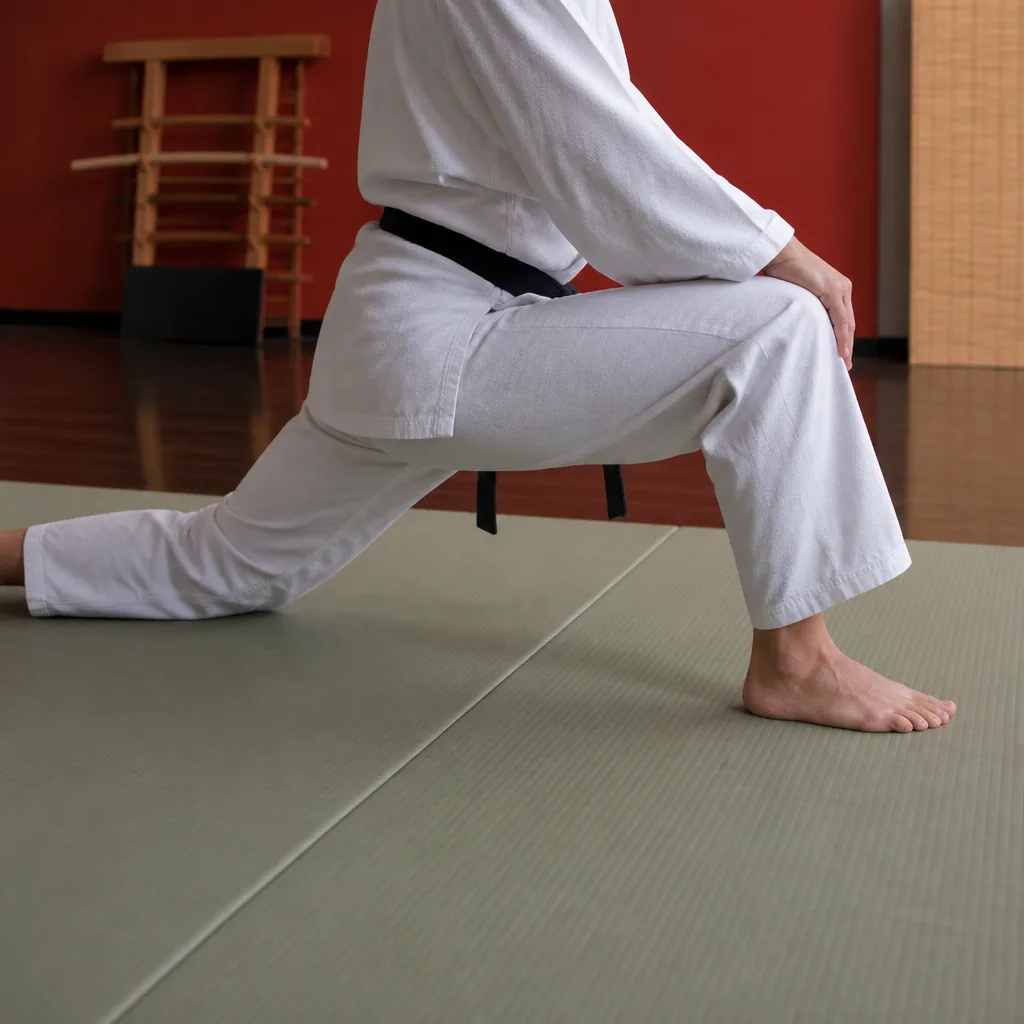 06
Daily hip opening routine
Loose hips make kicks, stances and falls noticeably safer and more comfortable, and a short routine before every session builds that range over time. Moving slowly into each position, rather than bouncing, protects the joint while still improving range. Five to ten minutes done consistently beats a long session done rarely.
You need: a mat, comfortable clothing
- Start with a few minutes of light movement to warm the joints
- Move into a deep lunge stretch on one side
- Hold briefly, then move to a seated hip opener
- Switch sides evenly
- Finish with slow hip circles in both directions
Matching productBo staffAmazon →
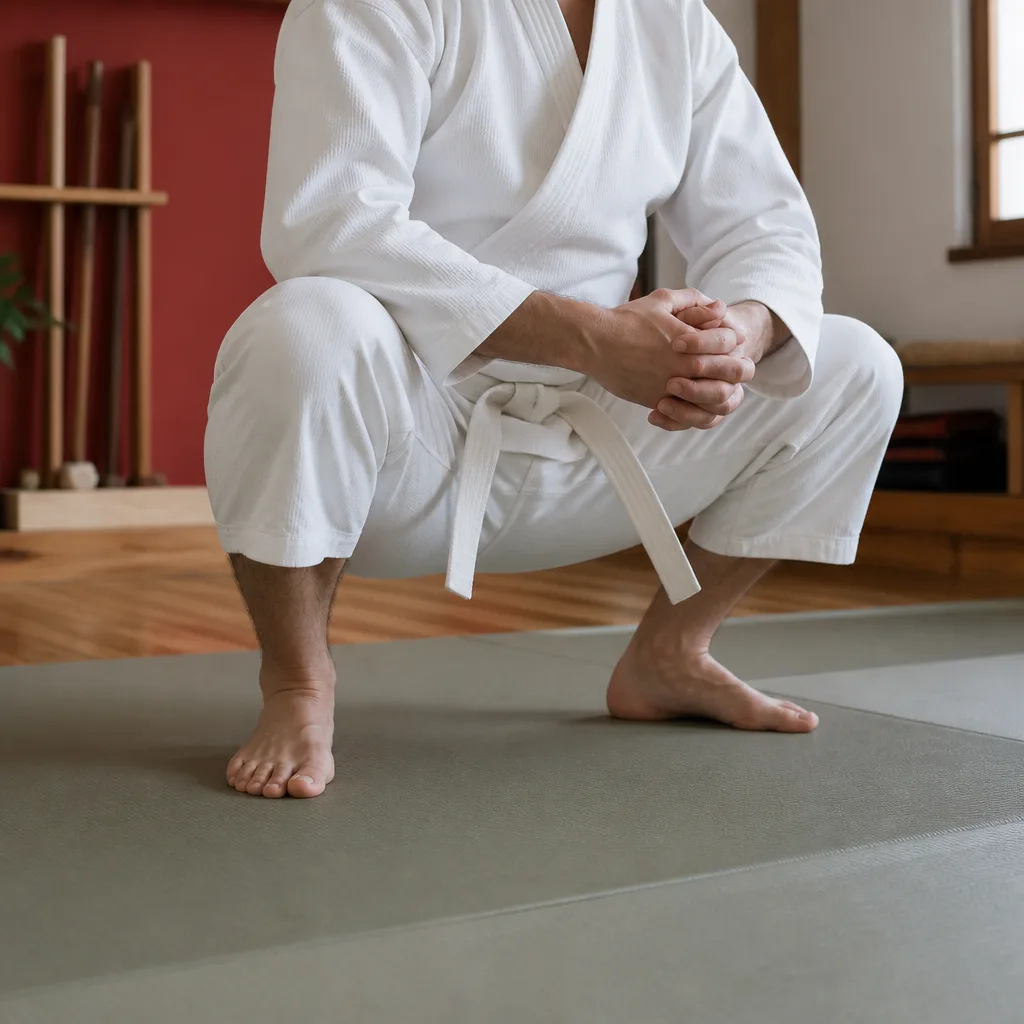 07
Deep squat and ankle mobility sequence
A comfortable deep squat supports low stances and ground work, and many people lose this range simply through sitting in chairs all day. Holding the position while gently rocking improves ankle and hip mobility together. Use a support such as a doorframe at first if balance is difficult.
You need: a mat, a doorframe or support if needed
- Stand with feet slightly wider than shoulder width
- Lower into a full squat, keeping heels on the floor if possible
- Hold the position, using light support if needed
- Gently rock side to side to open the ankles and hips
- Stand and repeat for three to five rounds
Matching productKarate giAmazon →
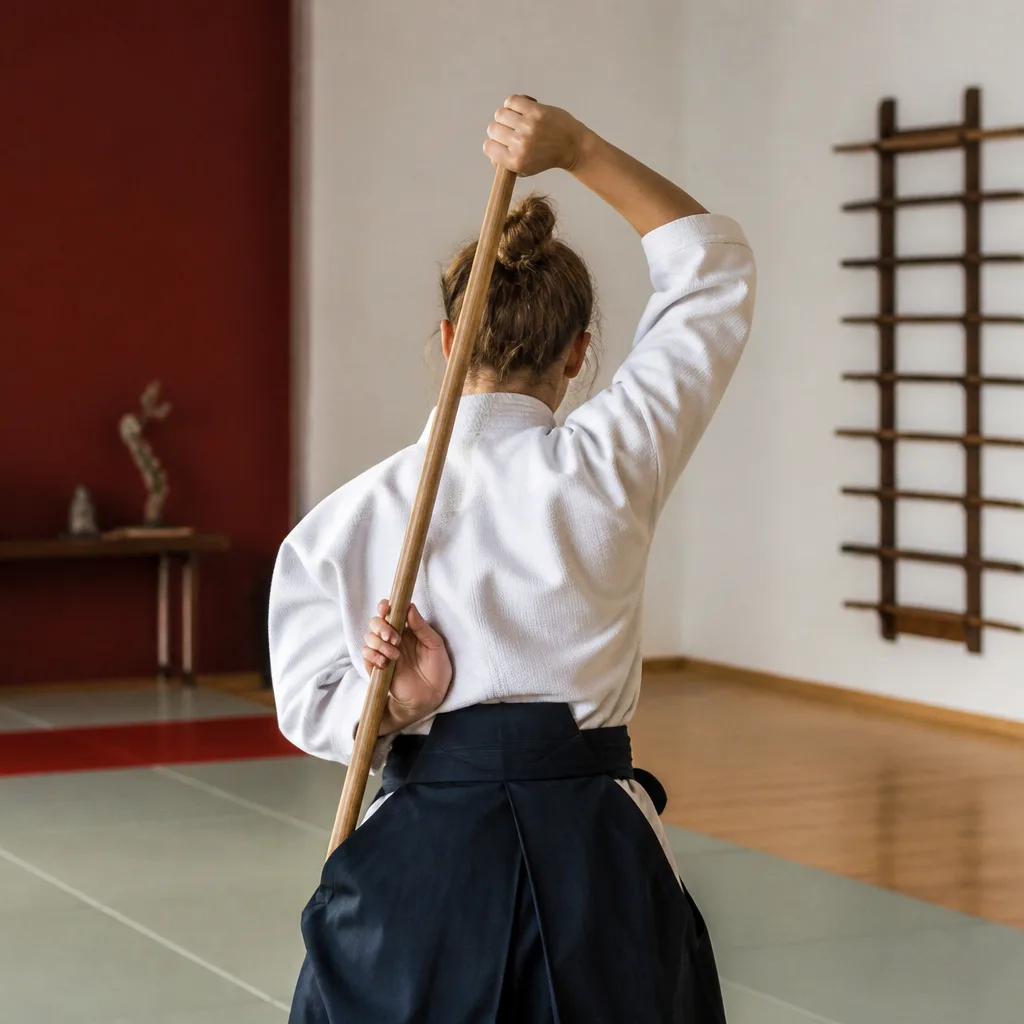 08
Shoulder and thoracic mobility for weapons work
Weapons practice with a bo, jo or bokken asks the shoulders and upper spine to rotate through a large range, and stiffness there often shows up as a shortened swing. A light stick used only for the mobility drill, not full technique, gives feedback on how far you can rotate safely. Work slowly and never force a position that feels sharp or restricted.
You need: a light stick or dowel, comfortable clothing, enough overhead space
- Hold the stick with both hands at shoulder width
- Raise it overhead and rotate the torso slowly to one side
- Return to centre and rotate to the other side
- Add gentle overhead reaches between rotations
- Repeat for eight to ten slow repetitions per side
Matching productBo staffAmazon →
 09
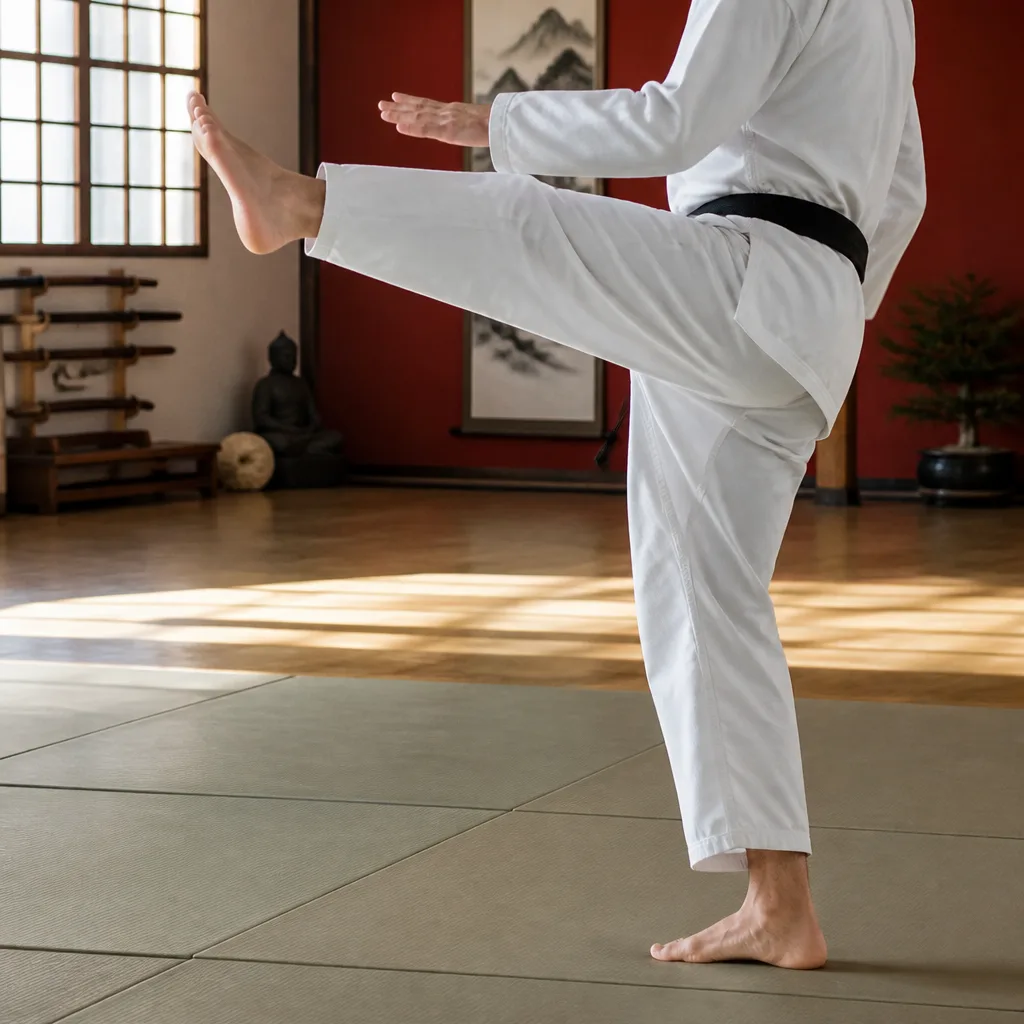
Dynamic kicking mobility warm up
Controlled leg swings raise the hip and hamstring range needed for kicking technique far more specifically than static stretching alone. Keeping the swings controlled rather than maximal protects the lower back and hip joint while still building useful range. This works well right before kicking drills or bagwork.
You need: an open training space, something stable to hold for balance
- Stand side on to a wall or stable object for light support
- Swing one leg forward and back in a controlled arc
- Gradually increase the height of the swing without straining
- Switch to sideways swings for the same leg
- Repeat on the other side, ten to twelve swings per direction
Matching productHeavy bagAmazon →
 10
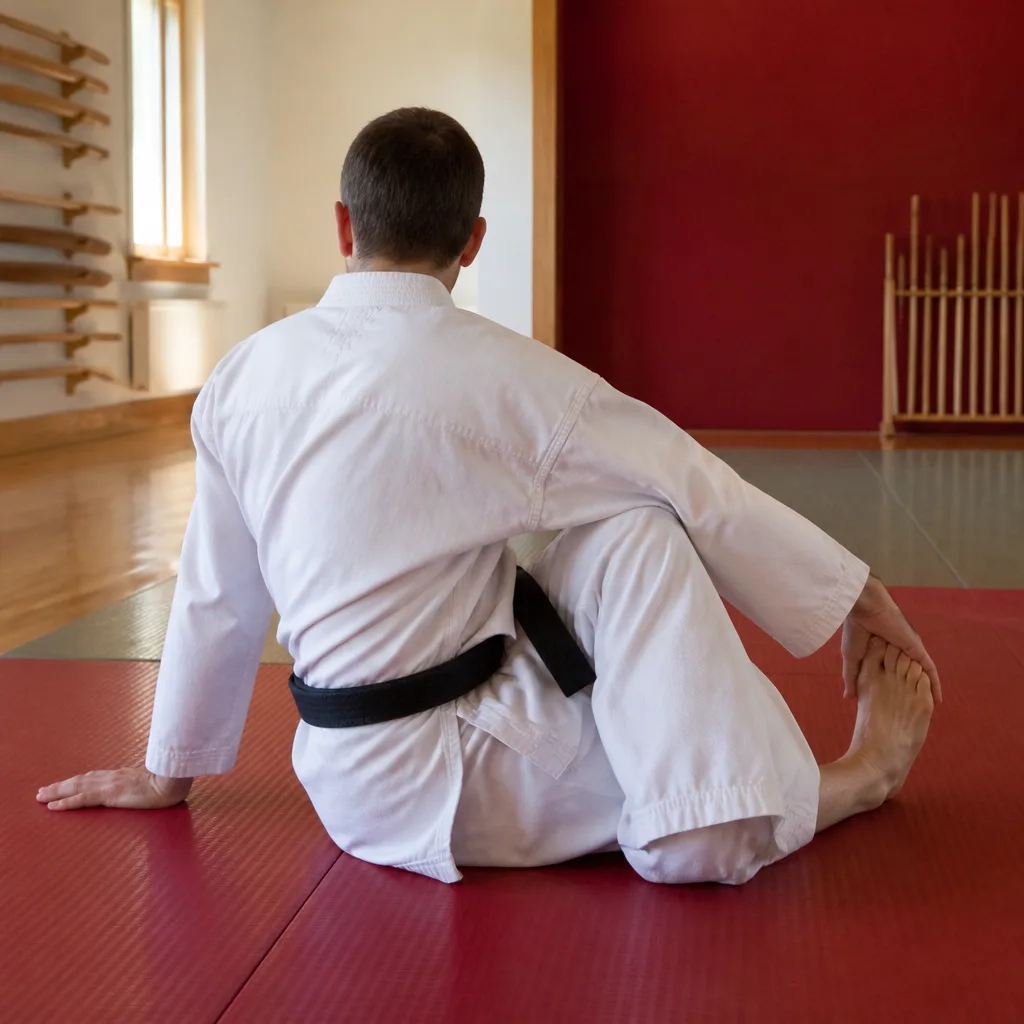
Floor based mobility flow for stiff mornings
A short floor routine done first thing in the morning loosens the back, hips and shoulders before the rest of the day, and it doubles as a gentle warm up if you train early. Moving slowly between positions, rather than holding one long stretch, keeps the whole body involved. This routine needs no more space than a single mat.
You need: a mat, a quiet space
- Start seated with a gentle spinal twist to each side
- Move into a cat and cow style spinal flow on hands and knees
- Transition to a low lunge stretch on each side
- Finish seated with a forward fold, moving slowly
- Spend five to eight minutes total moving between positions
Matching productBo staffAmazon →
 11
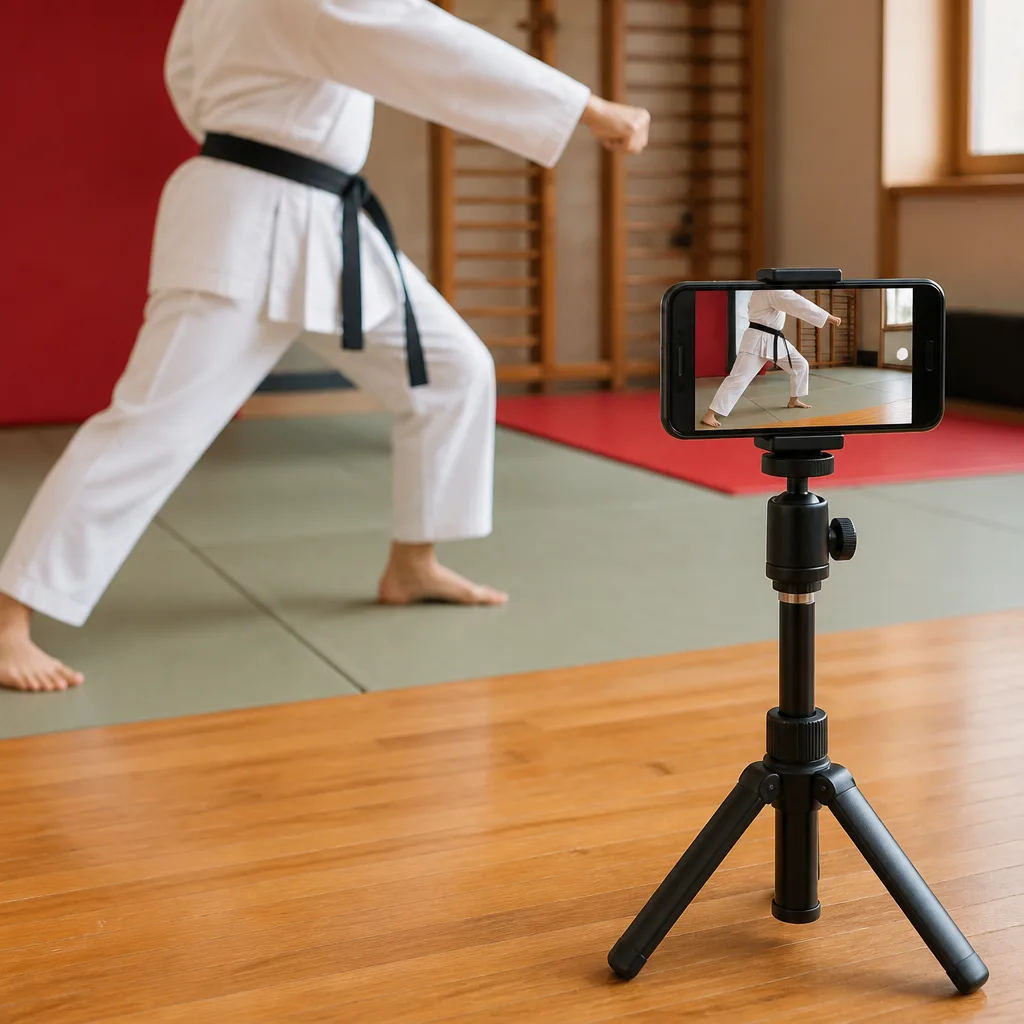
Solo kata repetition with video review
Recording yourself performing a kata and watching it back afterwards reveals timing and posture issues that are hard to notice while moving. Comparing the recording against a reference performance, rather than guessing, gives concrete points to work on next time. Reviewing only one or two corrections per session keeps the practice focused rather than overwhelming.
You need: a smartphone or camera, a stand or stable surface, enough space for the full kata
- Set up the camera to capture your full range of movement
- Perform the kata at normal speed
- Watch the recording back and note one or two clear corrections
- Perform the kata again, focusing only on those corrections
- Record a second pass to compare against the first
Matching productKarate giAmazon →
 12
Slow motion technique breakdown
Slowing a technique down to half speed or less exposes gaps in balance and structure that disappear at full speed. This works for strikes, blocks or footwork equally well and needs no partner or equipment. Speed the technique back up only once the slow version feels clean and controlled.
You need: a mat or open space, comfortable clothing
- Choose one technique to work on
- Perform it at roughly half your normal speed
- Pause briefly at each key position to check balance and structure
- Repeat slowly five to eight times
- Perform it at full speed once and compare how it feels
Matching productKarate giAmazon →
 13
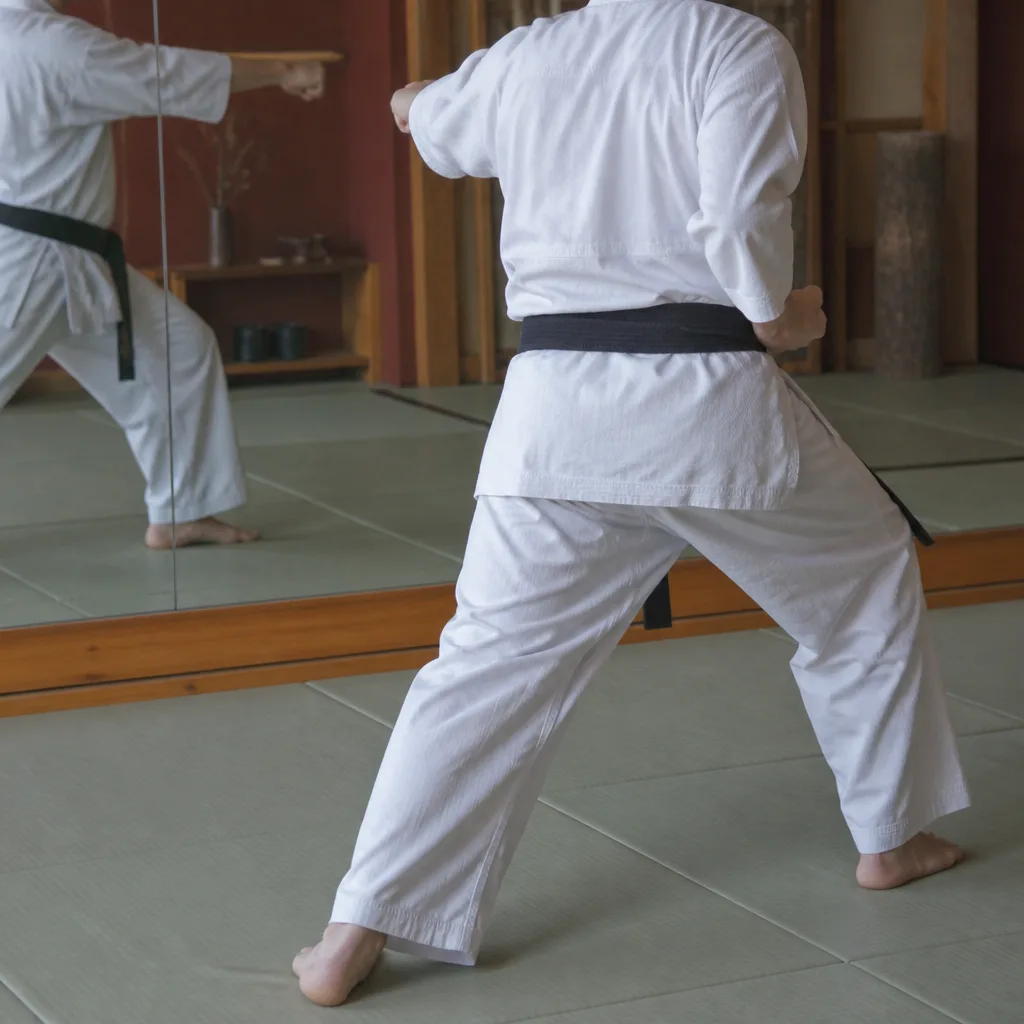
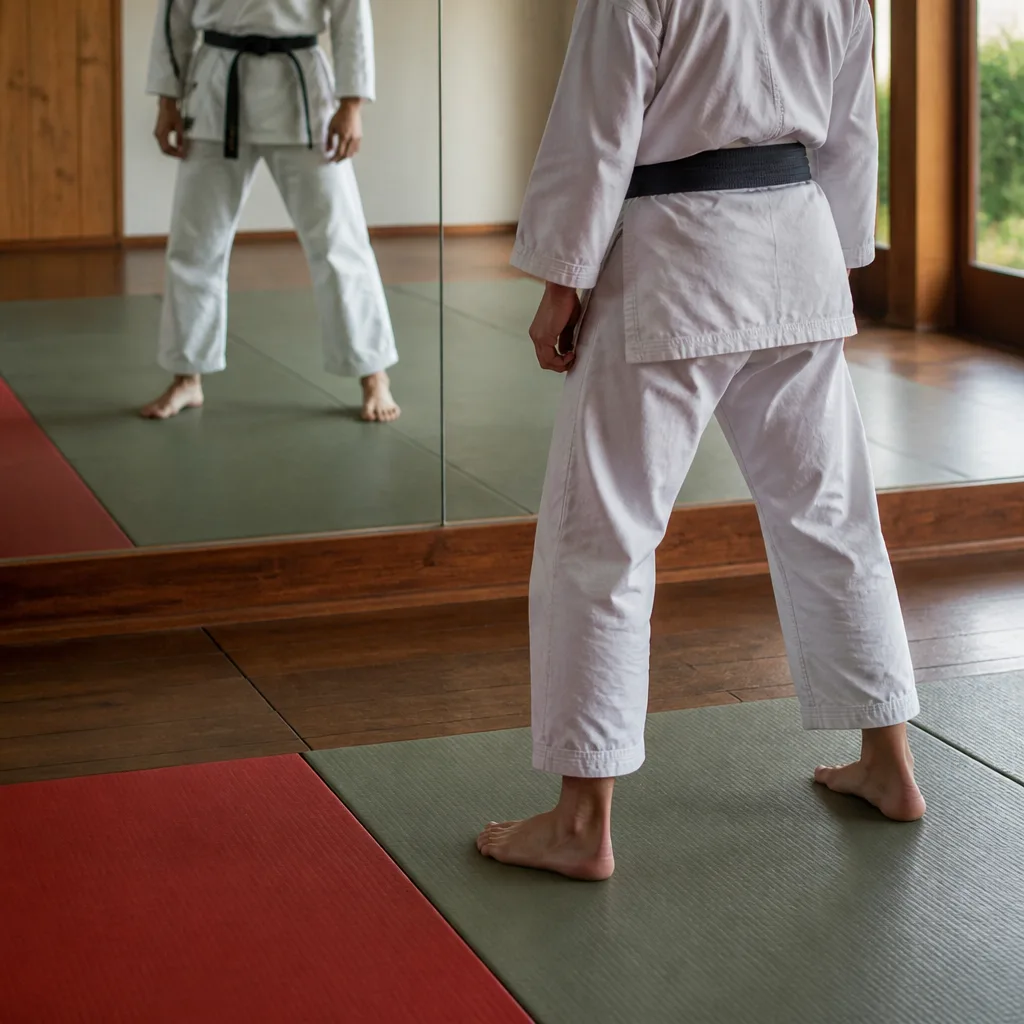
Mirror drilling for stance and posture
A mirror gives immediate feedback on stance width, hip alignment and posture that is otherwise hard to judge from the inside. Checking your reflection at set points during a drill, rather than constantly, keeps the practice from becoming distracted. This suits beginners building basic stances just as well as experienced practitioners refining detail.
You need: a mirror, enough space to move through stances
- Stand facing the mirror in your starting stance
- Check width, hip alignment and shoulder position
- Move through a short sequence of stances or steps
- Pause at the mirror after each stance to check alignment
- Repeat the sequence, correcting one detail at a time
Matching productKarate giAmazon →
 14
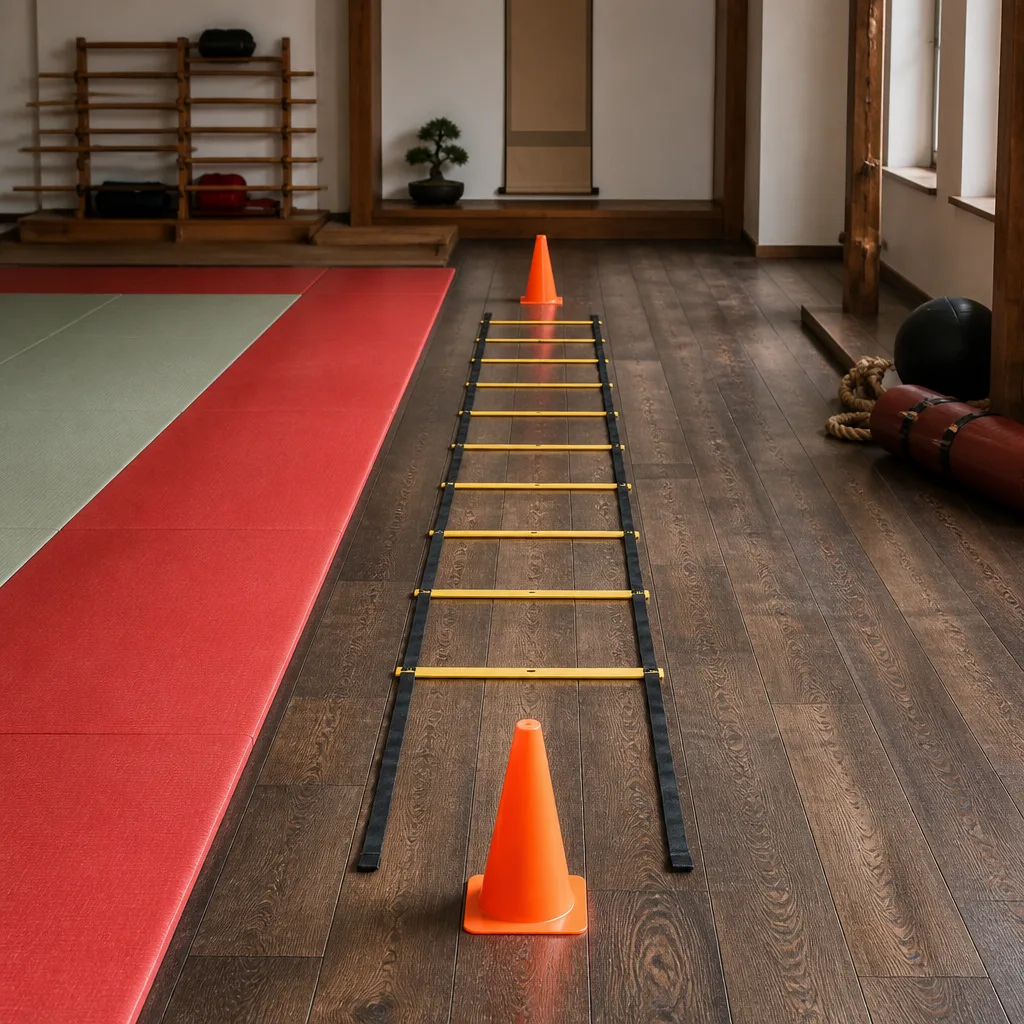
Footwork ladder and cone drills
An agility ladder builds the fast, accurate foot placement that supports both striking and grappling footwork. Cones placed at the ends encourage a change of direction rather than just moving in a straight line. Start slowly and add speed only once the foot pattern is consistent.
You need: an agility ladder, two or more cones, an open floor
- Lay the ladder flat and place a cone at each end
- Choose a footwork pattern such as in and out steps
- Move through the ladder at a controlled pace
- Change direction around the cone before returning
- Repeat the pattern for six to eight passes, increasing speed gradually
Matching productBo staffAmazon →
 15
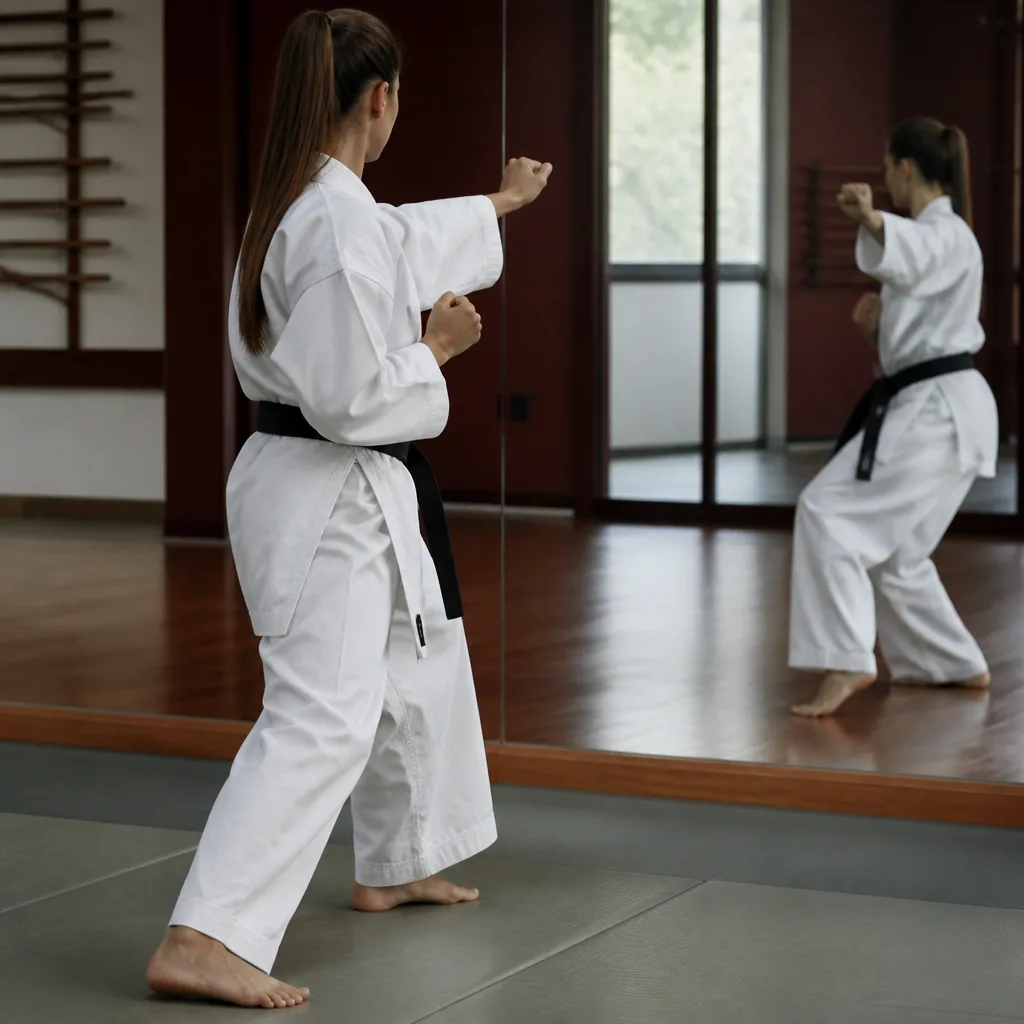
Shadow sparring for combination flow
Shadow sparring against an imagined opponent lets you rehearse combinations, footwork and defence together without the risk of contact. Picturing a specific response from an opponent, rather than moving randomly, keeps the drill purposeful. Short, focused rounds work better here than one long, unstructured session.
You need: an open training space, a timer
- Set a round length on the timer, such as two or three minutes
- Picture an opponent and imagine their likely reactions
- Move through combinations, footwork and defensive movement together
- Rest between rounds
- Do three to five rounds, changing the imagined scenario each time
Matching productKarate giAmazon →
 16
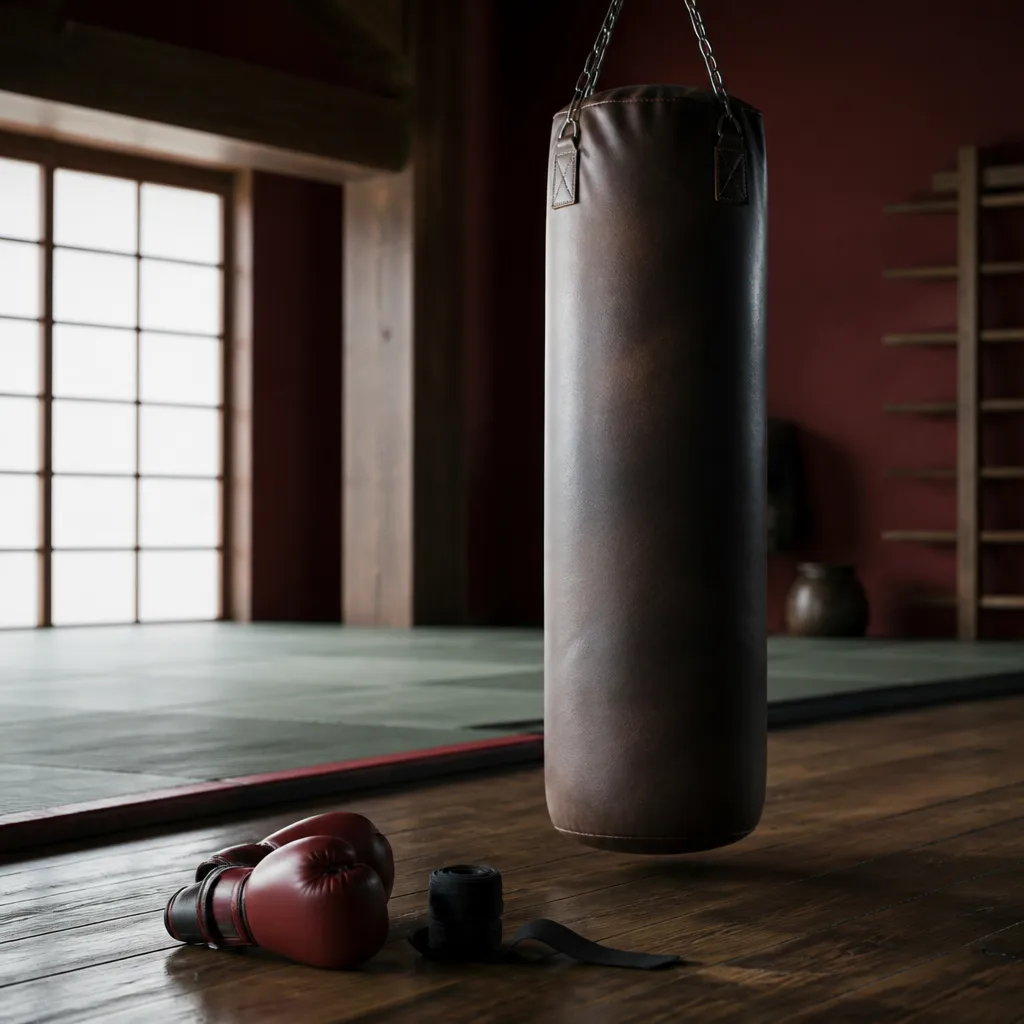
Basic heavy bag combination rounds
Simple, repeated combinations on a heavy bag build timing and conditioning together, and the bag gives instant feedback on balance through its swing. Starting with two or three strike combinations before adding more keeps the session controlled. Keep wrists and hands protected and stop if technique starts to break down from fatigue.
You need: a heavy bag, hand wraps, gloves
- Wrap your hands and put on gloves
- Warm up with light, loose strikes on the bag
- Work one combination for a full round, focusing on form
- Rest between rounds
- Repeat for three to five rounds, adding a new combination each round
Matching productHeavy bagAmazon →
 17
Kicking power rounds on a heavy bag
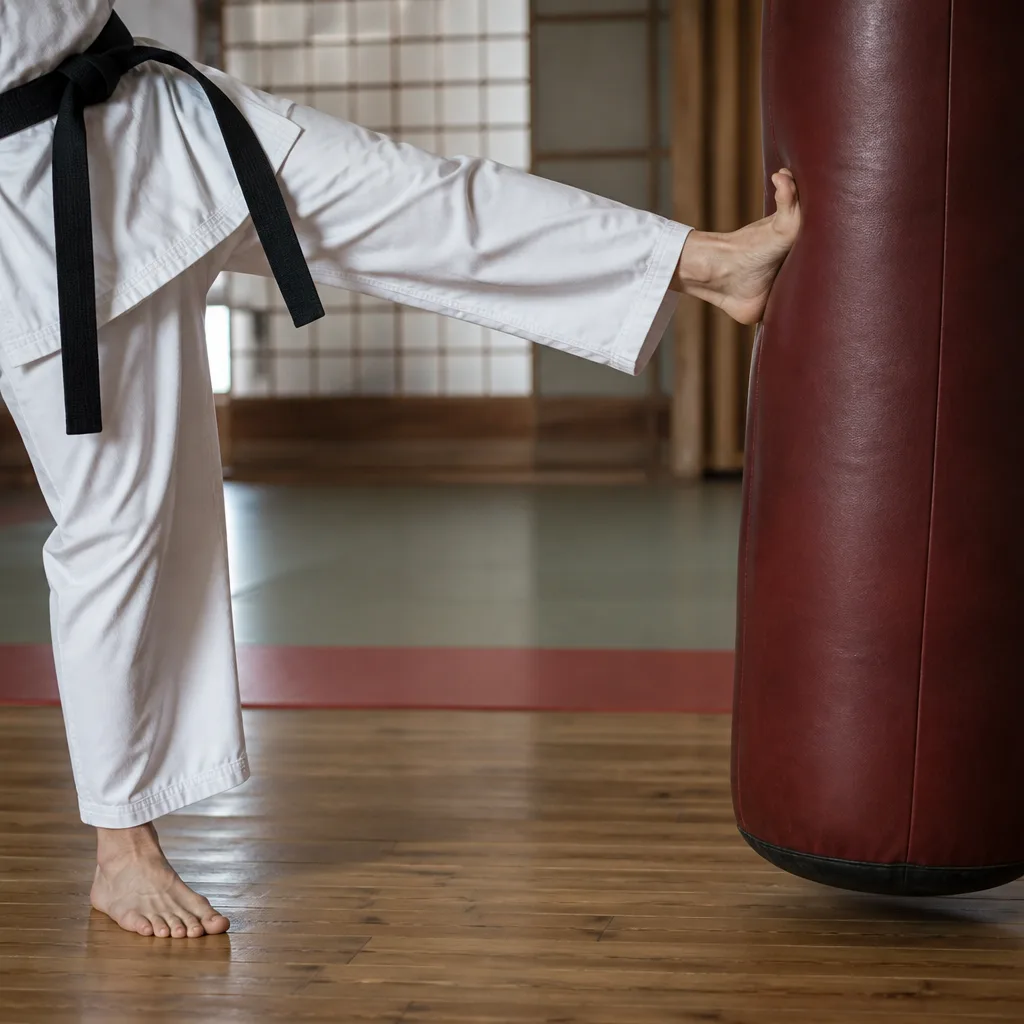
A heavy bag absorbs full power kicks in a way pads held by a partner cannot always match, which makes it useful for building kicking strength and confidence in contact. Resetting your stance fully between kicks keeps balance and technique consistent under fatigue. Check the bag's mount and surrounding space before a session focused on power.
You need: a heavy bag with a secure mount, shin guards if preferred, enough space around the bag
- Check the bag's mount and the space around it is clear
- Warm up with light kicks to find range
- Throw full power kicks in short sets, resetting stance between each
- Rest fully between sets
- Do four to six sets, alternating legs evenly
Matching productHeavy bagAmazon →
 18
Wall pad striking drill for knees and elbows
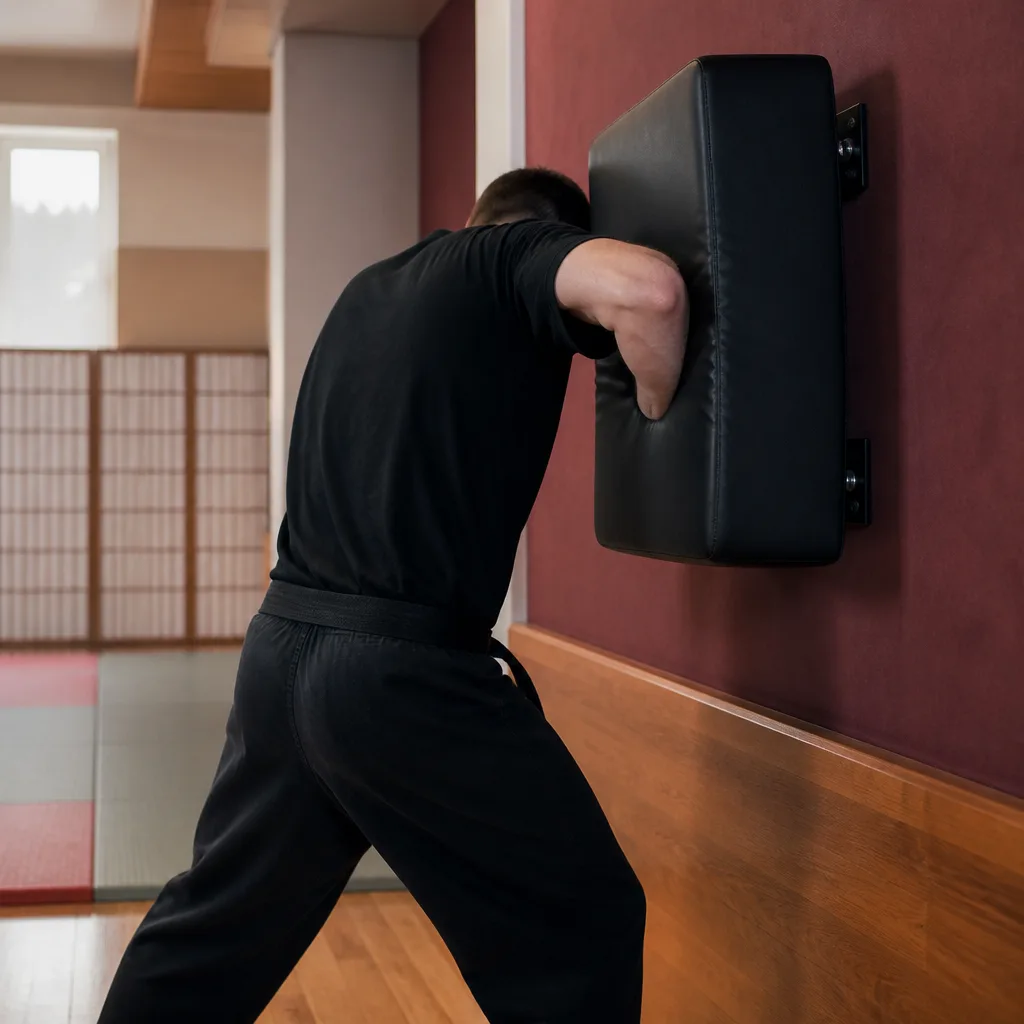
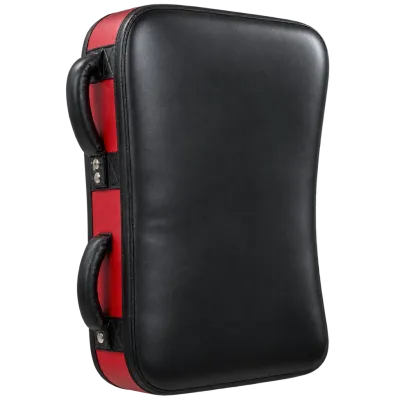
A mounted wall pad gives close range strikes such as knees and elbows a stable target without the swing of a hanging bag. Keeping strikes short and controlled protects the joints, since these strikes carry a lot of force over a short distance. This drill suits a smaller training area where a full bag will not fit.
You need: a wall mounted pad, comfortable clothing
- Warm up the shoulders, hips and knees before starting
- Stand close to the pad in a stable stance
- Throw short, controlled knee or elbow strikes
- Reset your stance between strikes
- Do three to four short rounds, alternating strike types
 Matching productKick shieldAmazon →
 19
Timer based interval rounds on the bag
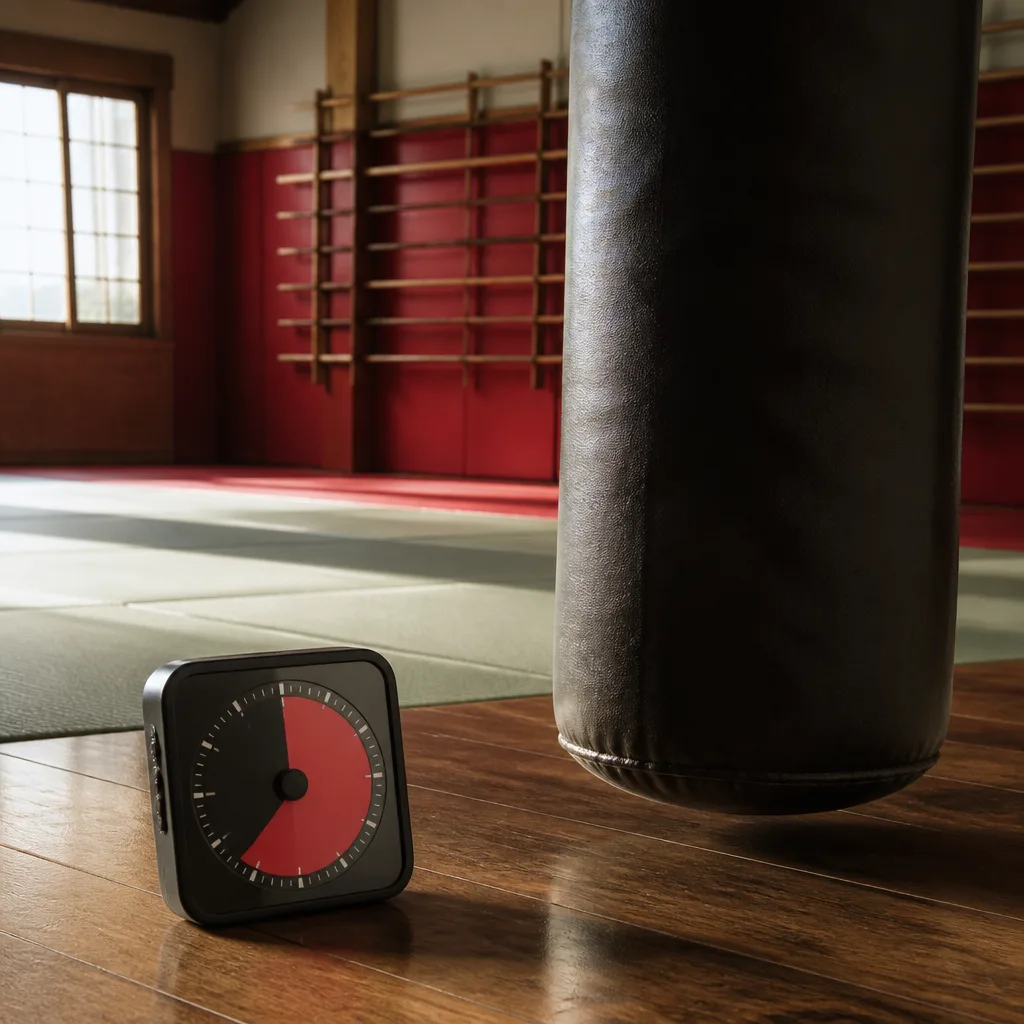
Setting a round timer turns loose bag work into structured conditioning, since fixed work and rest periods force a consistent pace instead of stopping whenever you feel tired. This suits anyone training alone who wants a workout with a clear structure. Adjust the round and rest length to match your current fitness rather than copying a fixed template.
You need: a heavy bag, a timer or interval app, gloves and wraps
- Set a work interval and a shorter rest interval on the timer
- Wrap hands and warm up briefly
- Strike continuously for each work interval
- Rest fully during each rest interval
- Repeat for six to ten rounds depending on fitness
Matching productHeavy bagAmazon →
 20
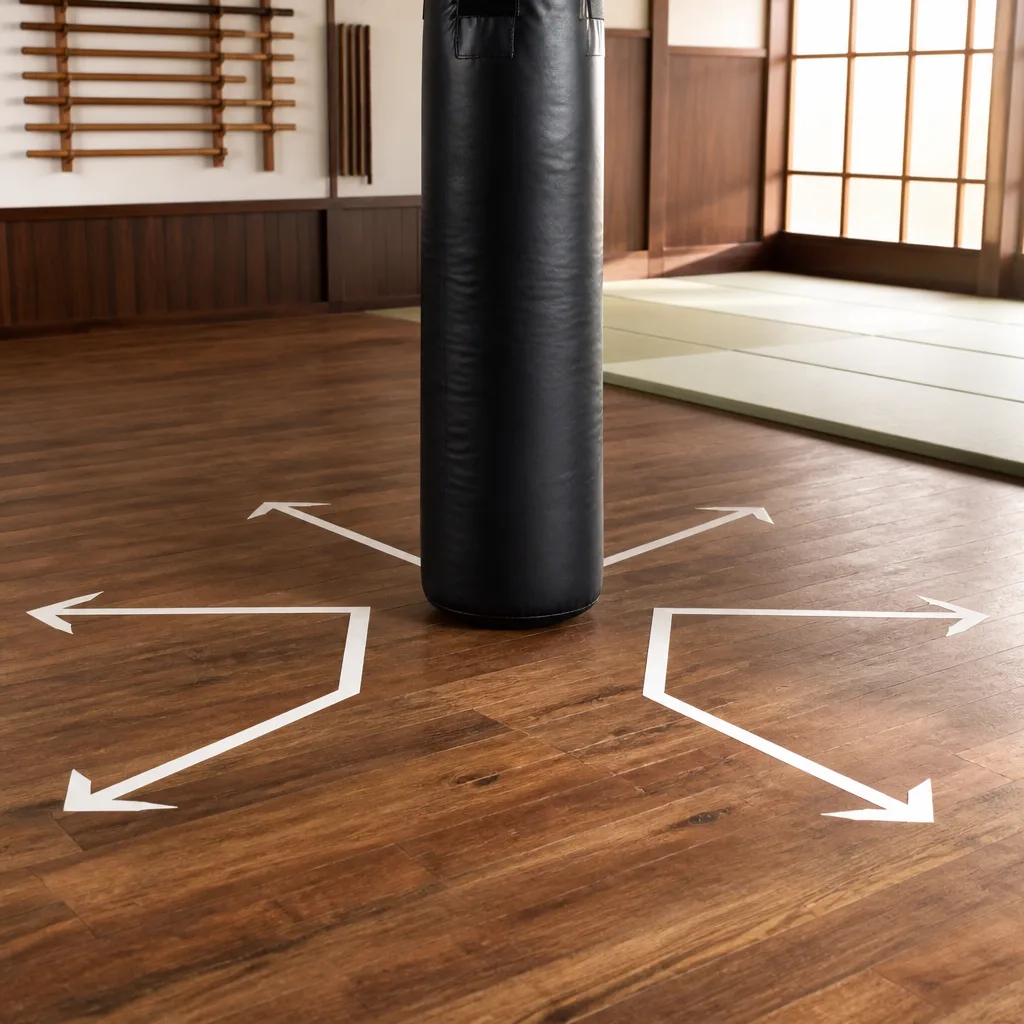
Footwork and angles around the heavy bag
Treating the bag as a stationary opponent and working footwork around it, rather than standing in one spot, builds the habit of moving off line after a strike. Marking a few angles on the floor with tape gives a clear reference while you build the pattern. This drill pairs well with a combination round once footwork feels natural.
You need: a heavy bag, floor marking tape, gloves and wraps
- Mark two or three angles on the floor around the bag
- Warm up with light strikes from directly in front
- Strike, then step to one of the marked angles before striking again
- Rotate through the different angles evenly
- Do three to five rounds, focusing on smooth footwork over power
Matching productHeavy bagAmazon →
 21
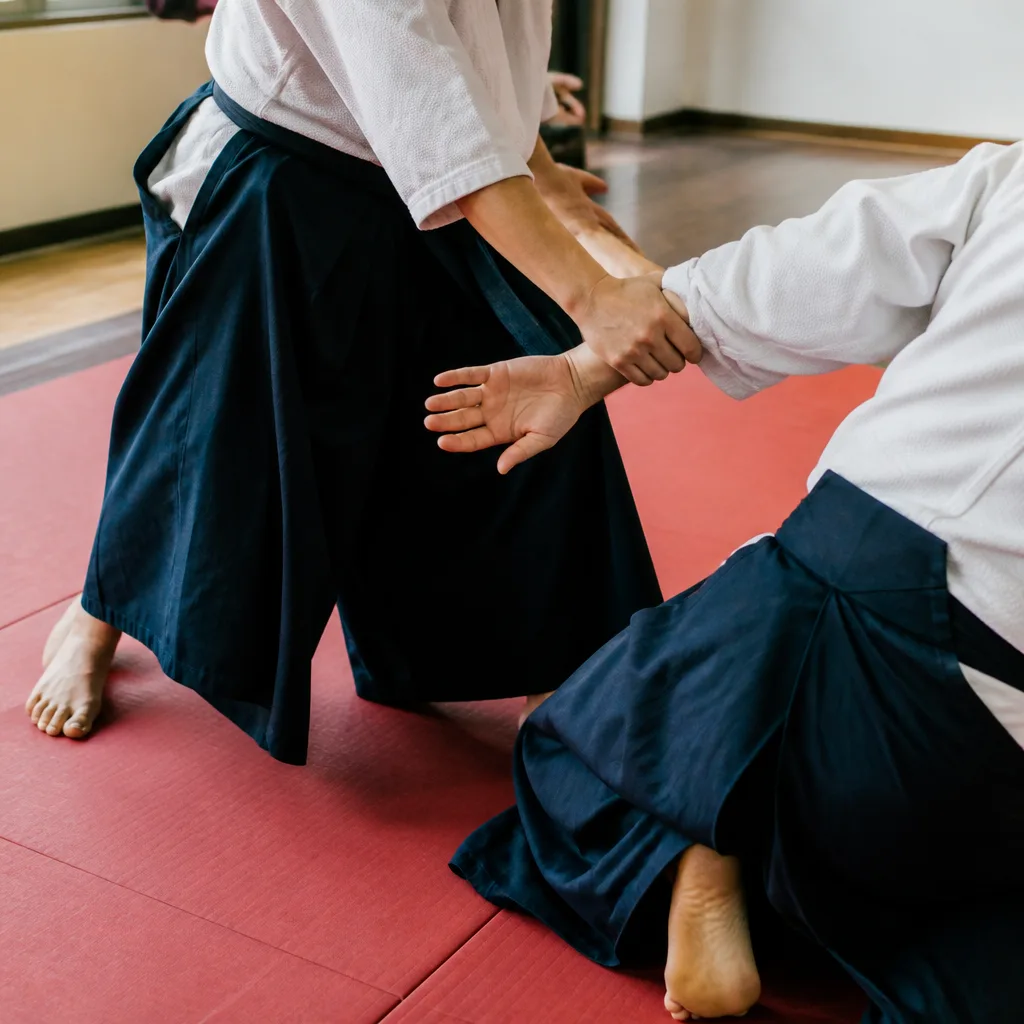
Cooperative drilling for new pairs
Slow, cooperative drilling lets a new pair build trust and timing before adding any resistance, which matters most in the first weeks of training together. Agreeing on a clear stop signal before starting keeps the drill safe if something feels wrong. Swapping roles evenly gives both partners equal time as the person giving and receiving the technique.
You need: a mat, a willing training partner, enough space for both of you
- Agree on a stop signal before starting
- Choose one simple technique to drill
- One partner offers light, predictable resistance while the other practises
- Switch roles after a set number of repetitions
- Repeat for several rounds, slowly increasing familiarity
Matching productBo staffAmazon →
 22
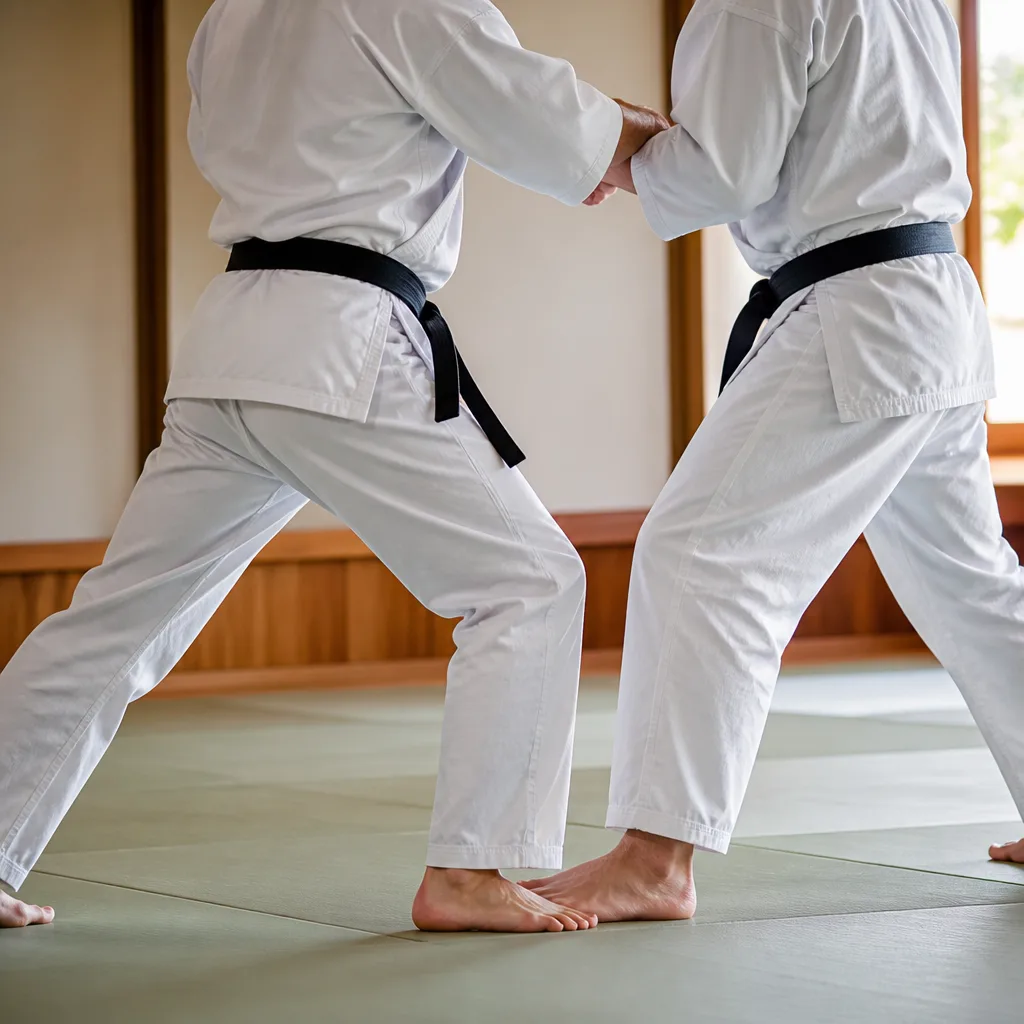
Light randori session with clear rules
Light, rule bound randori lets both partners test technique against genuine resistance while keeping intensity low enough to train regularly without injury. Agreeing on the rules and intensity level before starting, rather than during, avoids confusion mid session. This suits partners who already know each other's basic technique well.
You need: a mat, an experienced training partner, protective gear if your style uses it
- Agree on rules, target areas and intensity level before starting
- Warm up together with light cooperative movement
- Begin a short randori round at reduced intensity
- Stop immediately if either partner signals or control slips
- Debrief briefly after each round before starting the next
Matching productBo staffAmazon →
 23
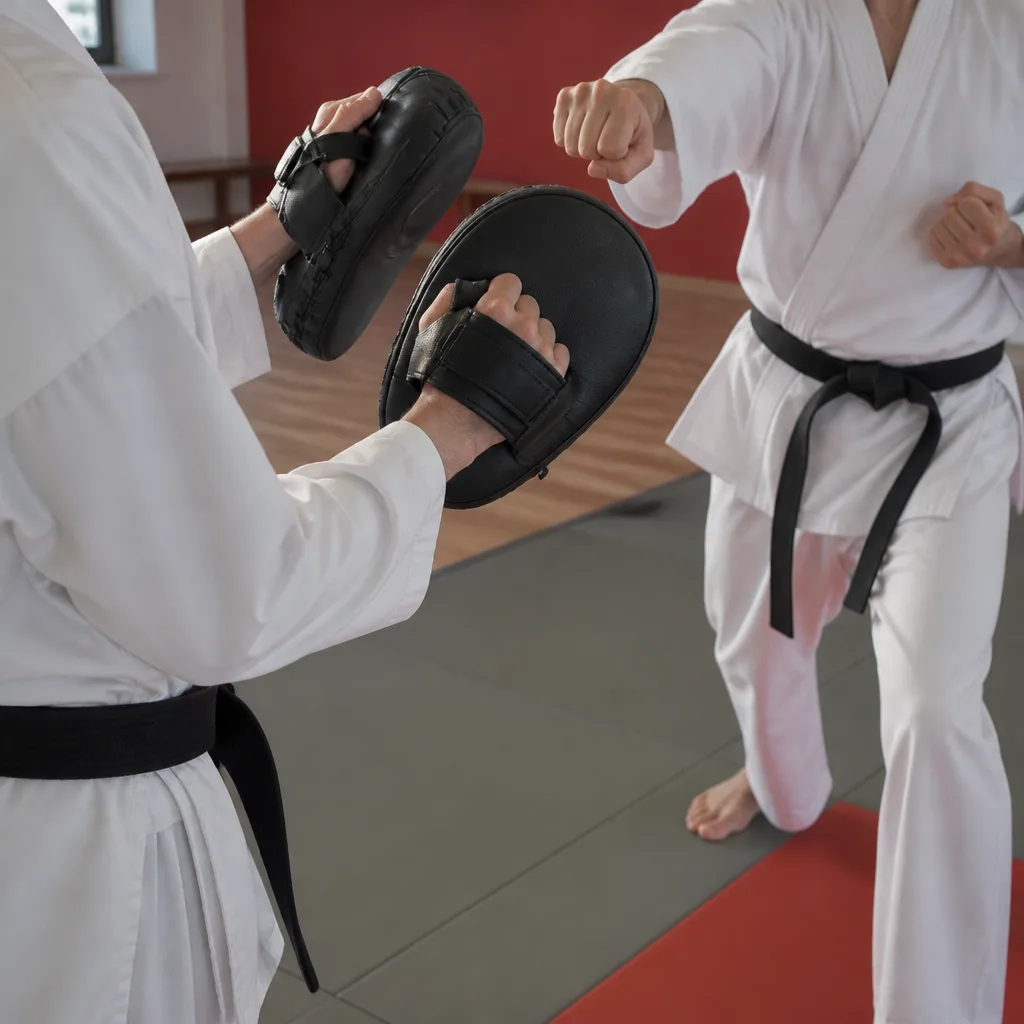
Partner pad holding rotation
Holding pads for a partner and then swapping gives both people a full striking workout without needing a bag. The holder's job is as important as the striker's, since steady pad position keeps the drill safe and useful. Clear calls from the holder let the striker react rather than just repeat a fixed pattern.
You need: focus mitts or pads, a training partner, gloves for the striker
- Agree on a set of calls the holder will use
- Holder presents the pads and calls a combination
- Striker responds to each call with the matching technique
- Swap roles after a set number of rounds
- Rest between rounds and adjust calls as confidence builds
Matching productKick shieldAmazon →
 24
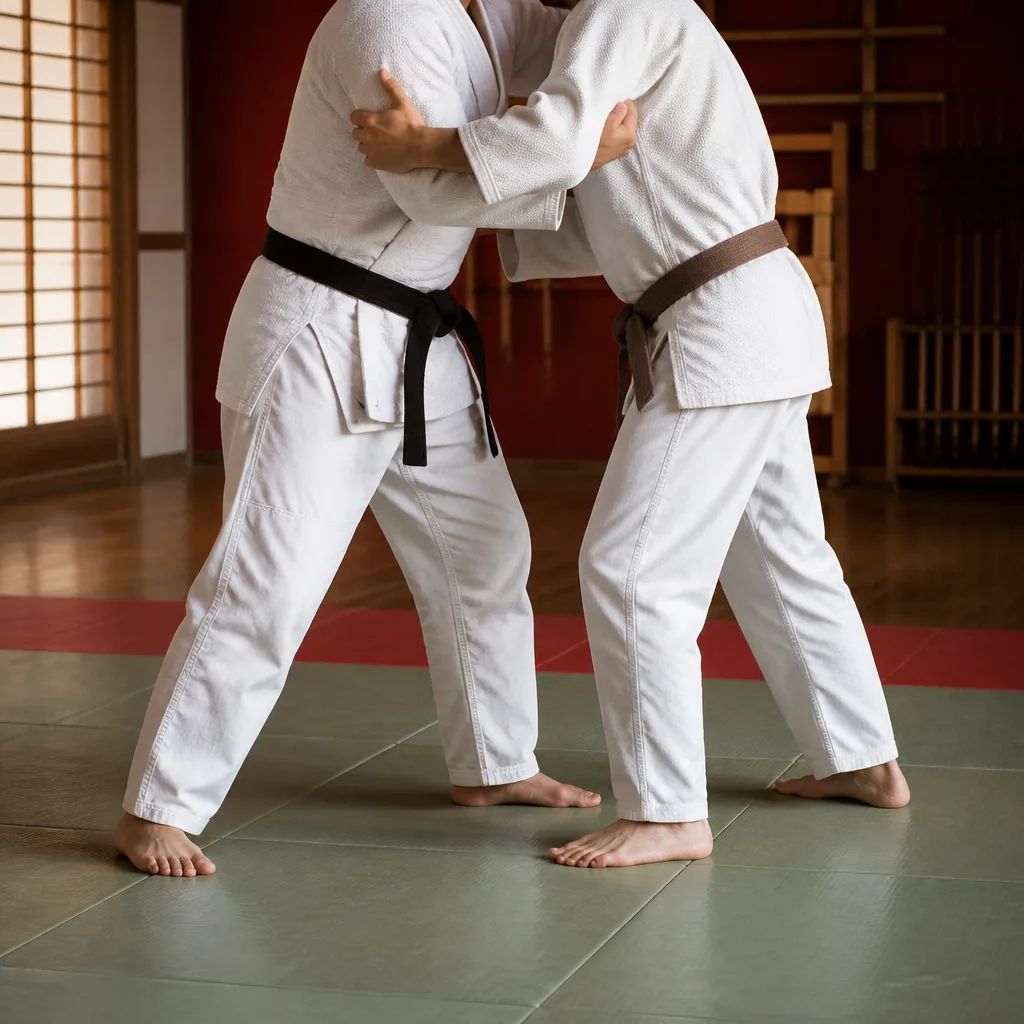
Grip fighting and clinch practice
Grip fighting from a standing clinch develops the hand fighting and positioning skills that set up throws and takedowns in many grappling styles. Working at low intensity first lets both partners feel the mechanics before adding resistance. Keep sessions short, since clinch work is demanding even without full throws.
You need: a mat, a training partner, comfortable grappling clothing
- Start in a neutral standing clinch position
- Work for grips while your partner does the same
- Focus on breaking and re establishing grips rather than finishing a throw
- Reset to the neutral position after each exchange
- Do several short rounds with rest between them
Matching productBo staffAmazon →
 25
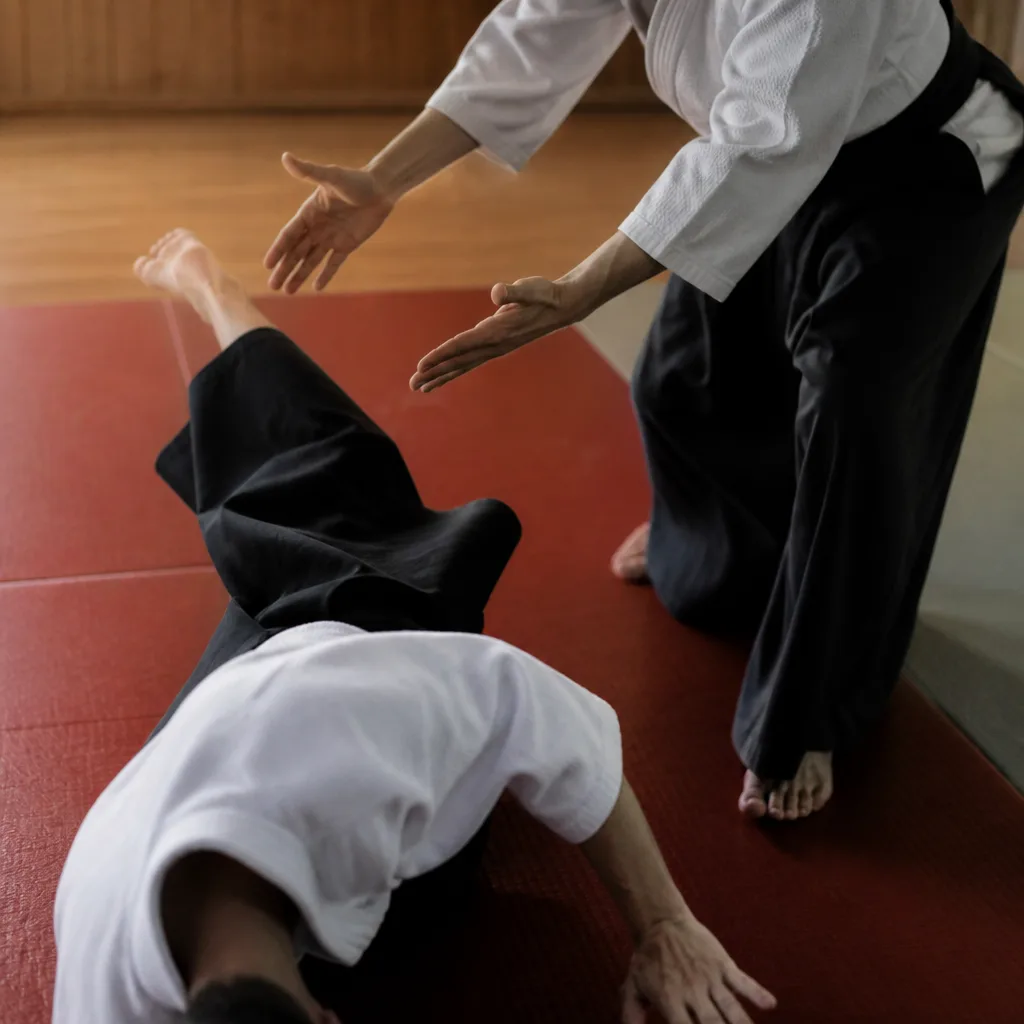
Partner ukemi and falling practice
Practising falls with a partner spotting you adds a layer of safety while you build confidence in ukemi, especially on techniques you are still learning to control. The spotting partner's job is to guide the fall, not to throw hard, so trust matters more than intensity here. Always practise on a suitably padded surface before trying a fall at full speed.
You need: a mat, a training partner, enough padded space
- Warm up with basic rolls and falls alone first
- Have your partner guide you through the fall at low speed
- Focus on protecting the head and landing flat through the back or side
- Gradually increase speed only once the pattern feels controlled
- Swap roles so both partners practise spotting and falling
Matching productBo staffAmazon →
 26
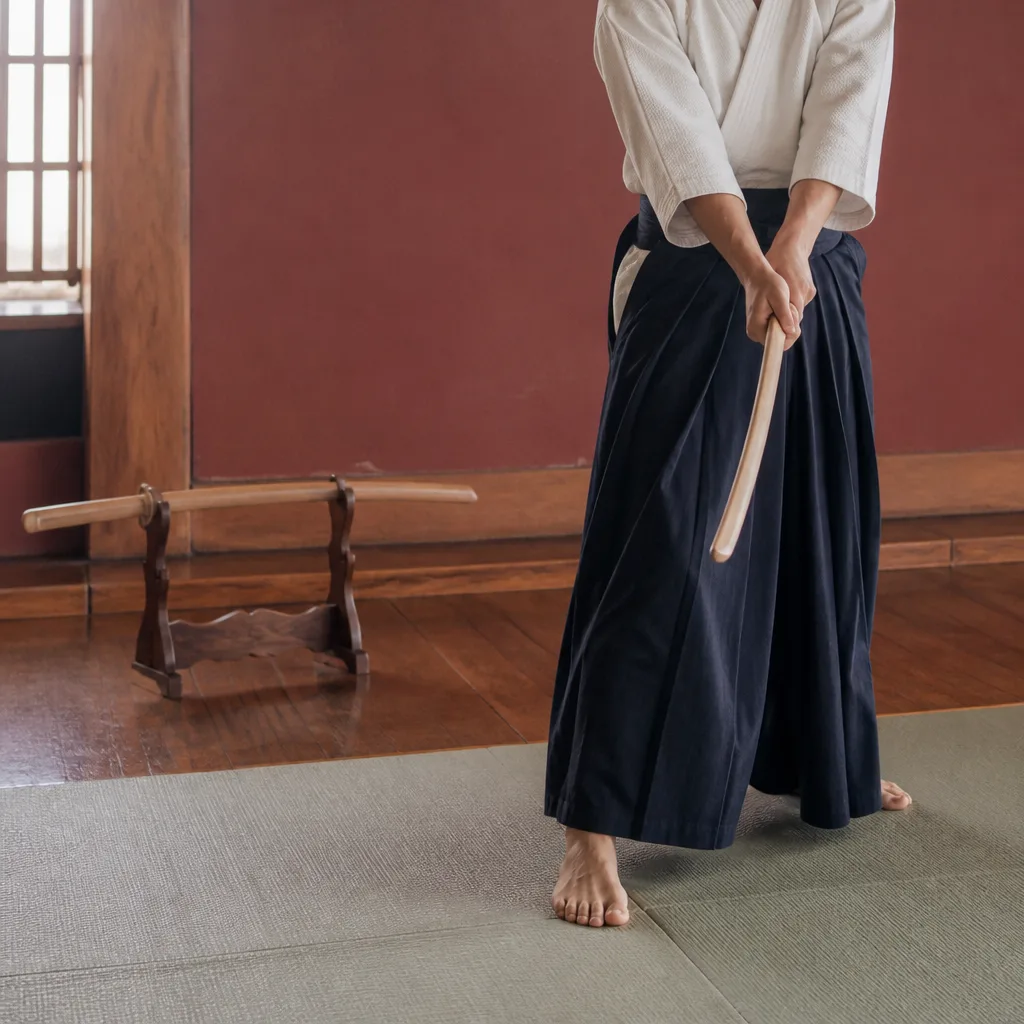
Solo bokken cutting practice
Repeating basic cuts with a bokken alone builds the timing and body alignment that weapons work depends on, without needing a partner or target. Checking the blade angle and stopping point after each cut catches habits that are hard to notice at speed. Keep a clear, obstacle free space around you at all times.
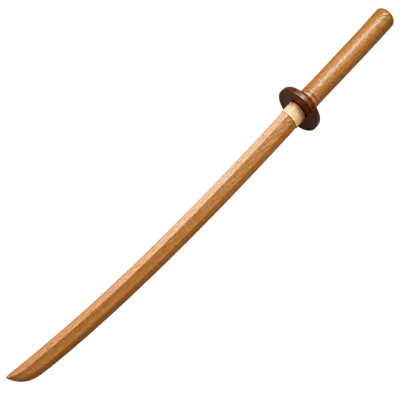
You need: a bokken, a clear training space with no obstacles nearby
- Check the space around you is completely clear
- Warm up with slow, controlled cuts to find your range
- Repeat a single basic cut, checking angle and stopping point each time
- Rest briefly between sets
- Do several sets, adding a second cut only once the first is consistent
 Matching productBokkenAmazon →
 27
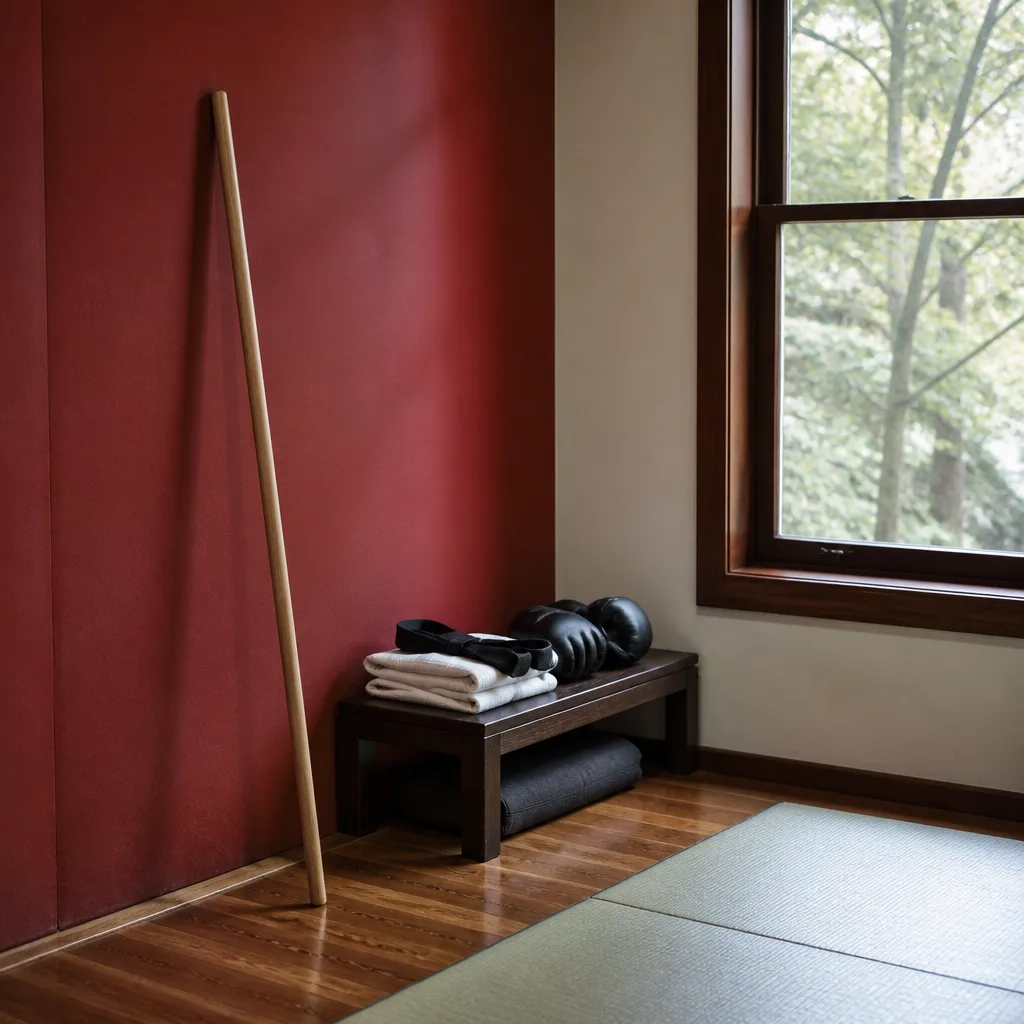
Jo staff basic strikes and stances
A jo staff is short enough to use safely in a small home space and gives a good introduction to weapons handling, grip changes and distancing. Practising basic strikes from a stationary stance first keeps the drill controlled before adding footwork. Check overhead and side clearance before starting, since the staff's length extends your reach considerably.
You need: a jo staff, a small clear space with overhead clearance
- Check overhead and side clearance in your space
- Warm up with slow grip changes and basic holds
- Practise one basic strike from a stationary stance
- Repeat the strike, checking grip and stance each time
- Add a second strike only once the first feels controlled
Matching productBo staffAmazon →
 28
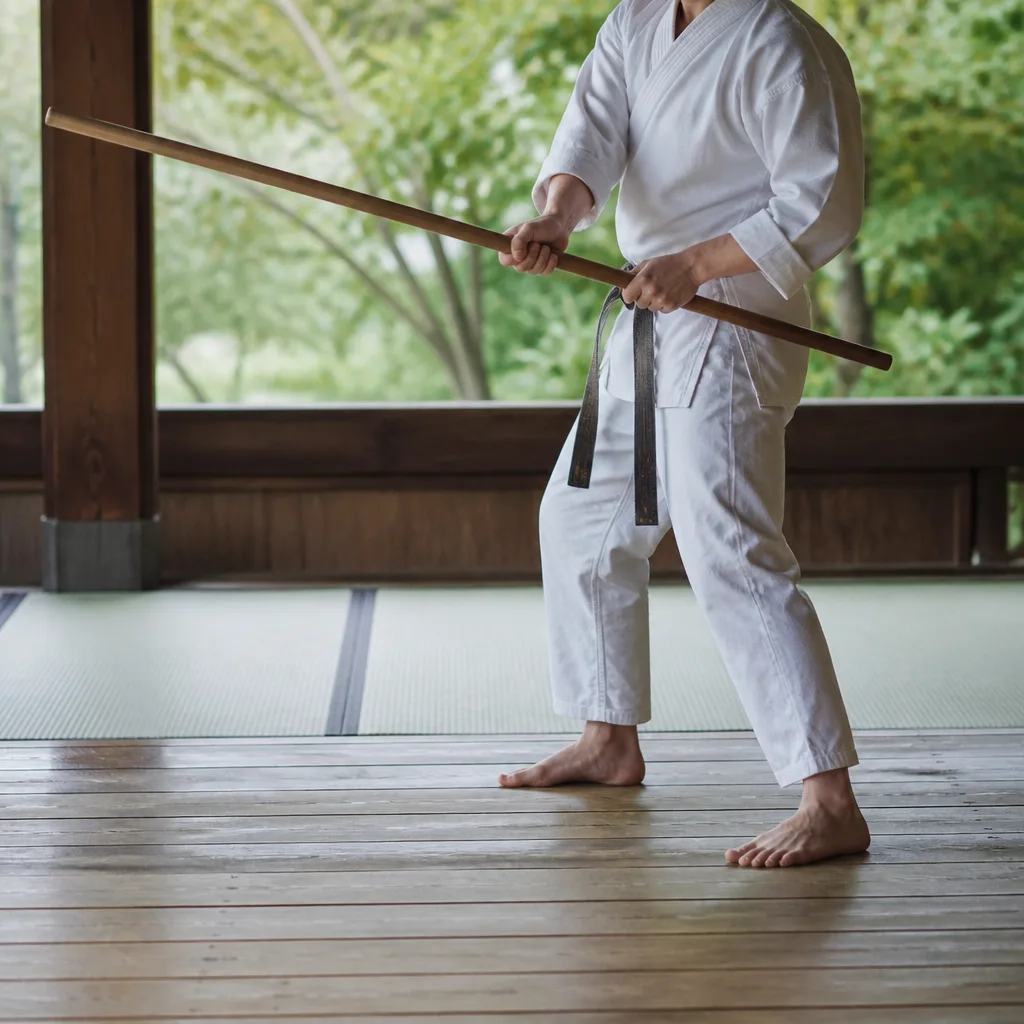
Bo staff spinning and control drills
Spinning drills with a bo staff build hand coordination and control at speed, which carries over into strikes and blocks once the basic pattern is comfortable. Starting slowly and only speeding up once the staff stays on a consistent path avoids losing control mid spin. An open outdoor space or a room with high ceilings works best given the staff's length.
You need: a bo staff, an open space with high overhead clearance
- Check overhead clearance is well beyond the staff's length
- Start with a slow, single direction spin
- Keep the spin on a consistent, controlled path
- Gradually increase speed once the pattern feels stable
- Stop and reset your grip immediately if control feels uncertain
Matching productBo staffAmazon →
 29
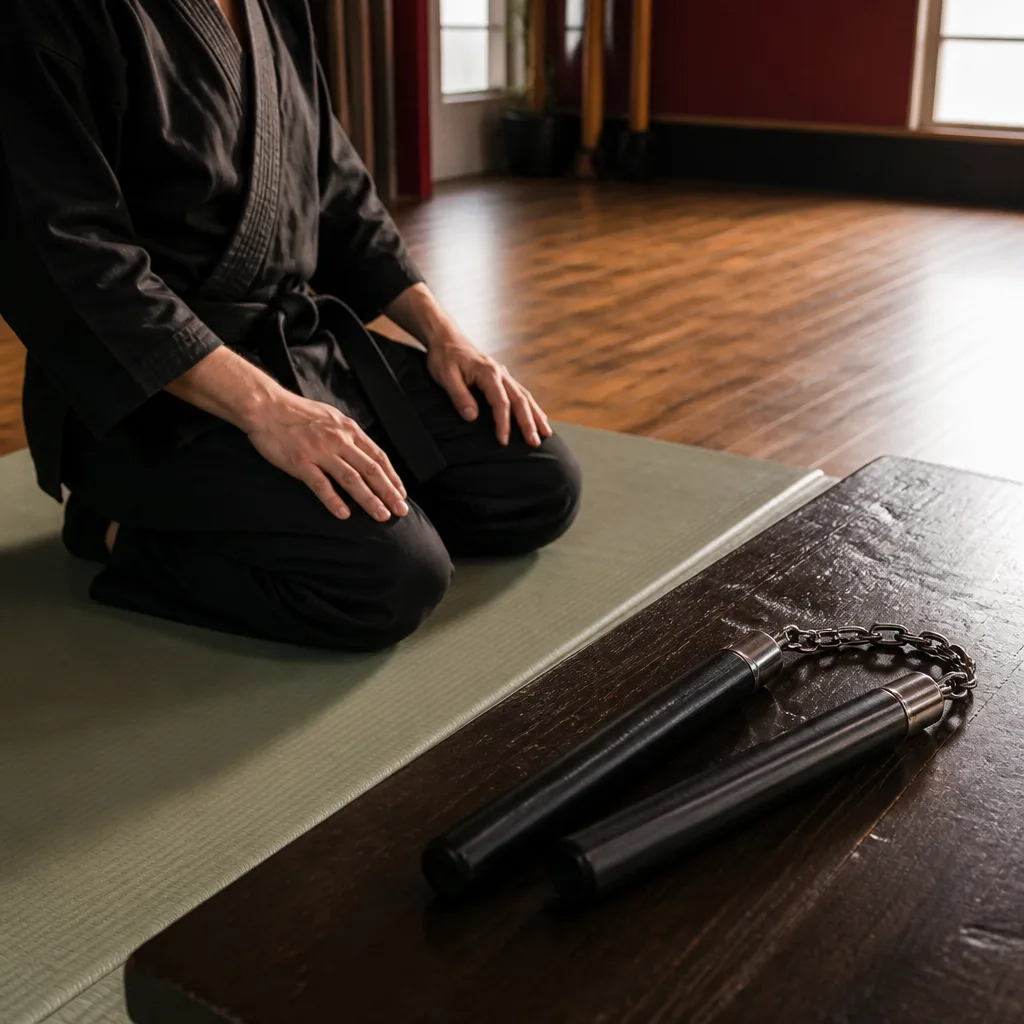
Nunchaku basic handling safety drill
Because nunchaku move fast and can strike the user if mishandled, a slow, deliberate handling drill focused purely on grip and control is a sensible place to begin. Working close to a padded surface and well away from any obstacles reduces the consequences of a dropped or wayward swing. Progress to any striking pattern only once basic handling feels fully secure.
You need: a pair of nunchaku, a padded or open space with nothing breakable nearby
- Clear the space of anything breakable or sharp
- Practise passing the nunchaku slowly from hand to hand
- Work a single basic swing at very low speed
- Repeat until the grip transition feels secure
- Stop the session if control feels uncertain at any point
Matching productKick shieldAmazon →
 30
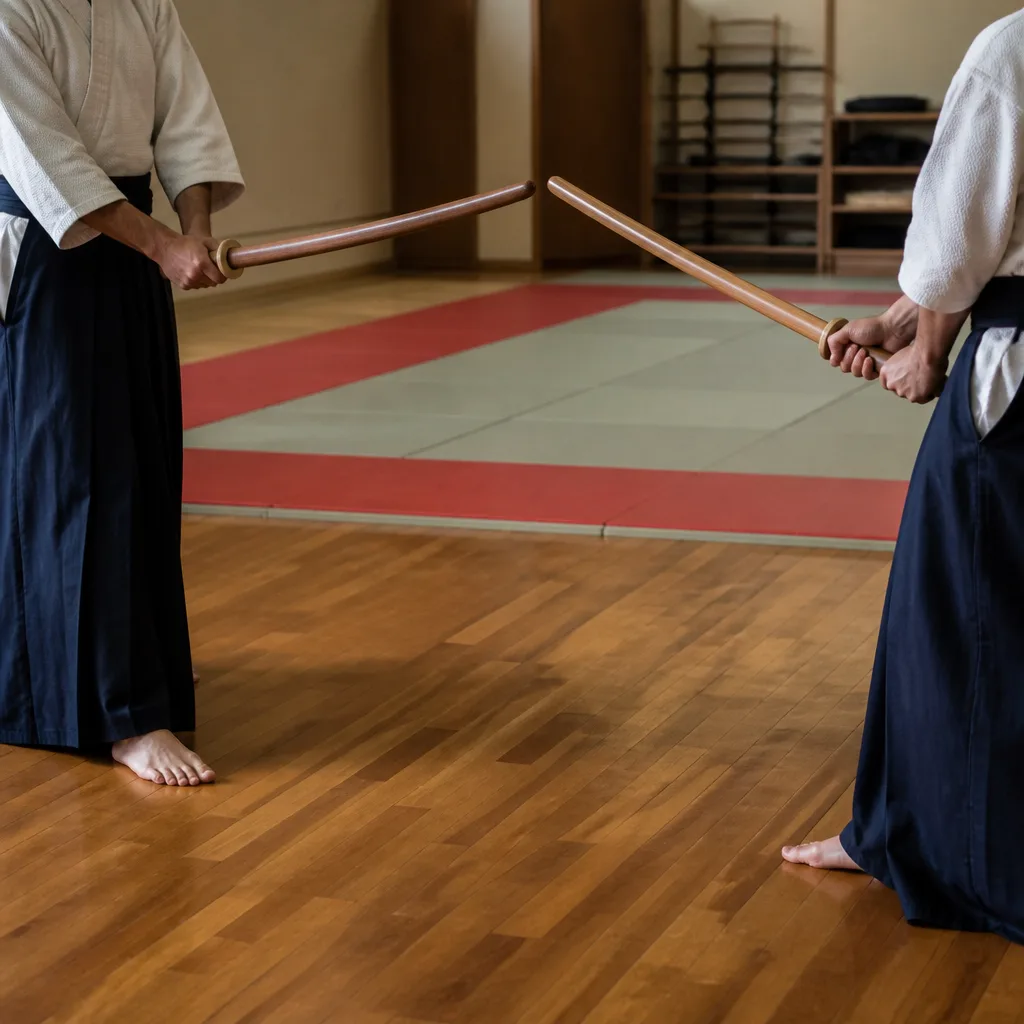
Partner bokken pairing kata
Paired bokken kata, practised at slow, fixed speed with an experienced partner, teaches distancing and timing that solo practice cannot fully replicate. Both partners should know the pattern before adding any speed, since weapons work leaves little room for improvisation. Our weapons training guide covers general safety practice for this kind of paired work in more depth.
You need: two bokken, an experienced training partner, a clear training space
- Agree on the exact pattern with your partner before starting
- Warm up individually with slow solo cuts
- Walk through the paired pattern at very low speed without contact
- Repeat the pattern several times at the same controlled speed
- Stop and reset immediately if timing or distance feels off
Matching productBokkenAmazon →
Explore
Read next
 Martial Arts and Their Equipment: A Complete OverviewAn overview of the martial arts covered on budoshop.com and the uniforms, protective gear and training weapons each one typically uses.
 Martial Arts Equipment Buying GuideA practical, step by step guide to buying the right martial arts equipment for your art and level, from your first uniform to protective ge…
 Uniforms and Belts ExplainedA guide to how gi, dobok and hakama are constructed, what federations allow, and how belt colours and grading systems work across schools.